
Soundproofing a bedroom from neighbours: diagnose the noise before building
Trace speech, footsteps and flanking noise; compare wall and ceiling treatments, space loss, realistic limits and a written bedroom quote.
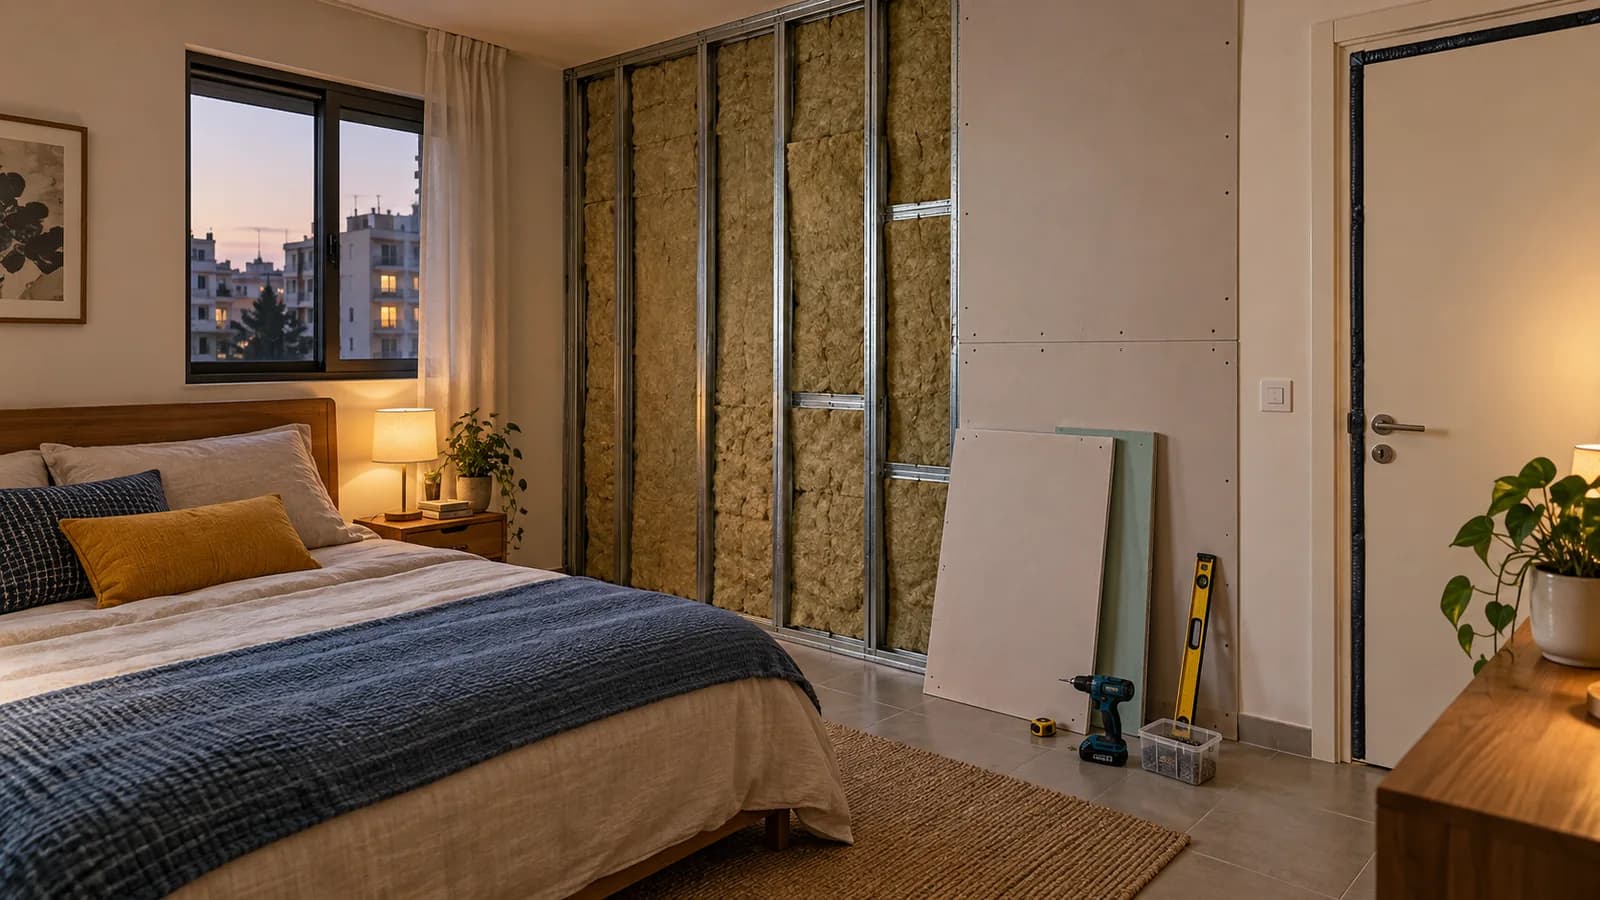
When a bedroom picks up voices, television or footsteps, covering every surface can feel like the obvious answer. It may also spend money on the wrong surfaces. Noise can travel through a shared wall, slab, door, window or junction. This guide helps you describe the problem and compare a targeted assembly with a wider room plan. No system can honestly promise absolute silence in an unknown building; the proposal should state what path it treats and what remains uncertain.
1. Keep a short noise diary
For several days, note the time, duration, type of disturbance and place where it is strongest. Speech and television suggest a different starting question from footsteps or furniture impacts above. There is no need to record private conversations; a simple description of audibility is enough for the first assessment.
Sketch the bed, shared walls, ceiling, door, window, vents and sockets. Compare the centre of a wall with its corners. The diary is not a laboratory test, but it helps focus the inspection on a plausible path rather than a random square metre count.
2. Separate transmitted noise from room echo
Soft furnishings and exposed acoustic panels may reduce reflections inside the bedroom. They do not automatically stop a neighbour's sound crossing a partition. Transmission work concerns the complete enclosure: its layers, connections, seals and bypass routes. Treating echo when the problem is a shared wall is a common and costly mismatch.
Ask the contractor to restate the goal: less audible speech, fewer impacts from above or a less reverberant room. Room soundproofing can involve different surfaces, but the chosen scope should follow the diagnosed complaint.
3. Look for flanking paths
Sound can bypass a new lining through the floor, ceiling, adjacent wall, facade or door. Service penetrations and unsealed joints also matter. Photograph former repairs, boxed-in routes and any suspended ceiling. Ask which paths the planned work leaves untreated and whether that could limit the perceived improvement.
Manufacturers distinguish laboratory performance of an assembly from performance in a finished building with flanking routes. A component rating is therefore not a guaranteed reduction in this bedroom. An honest quote notes this limitation before construction begins.
4. Understand what a secondary wall does
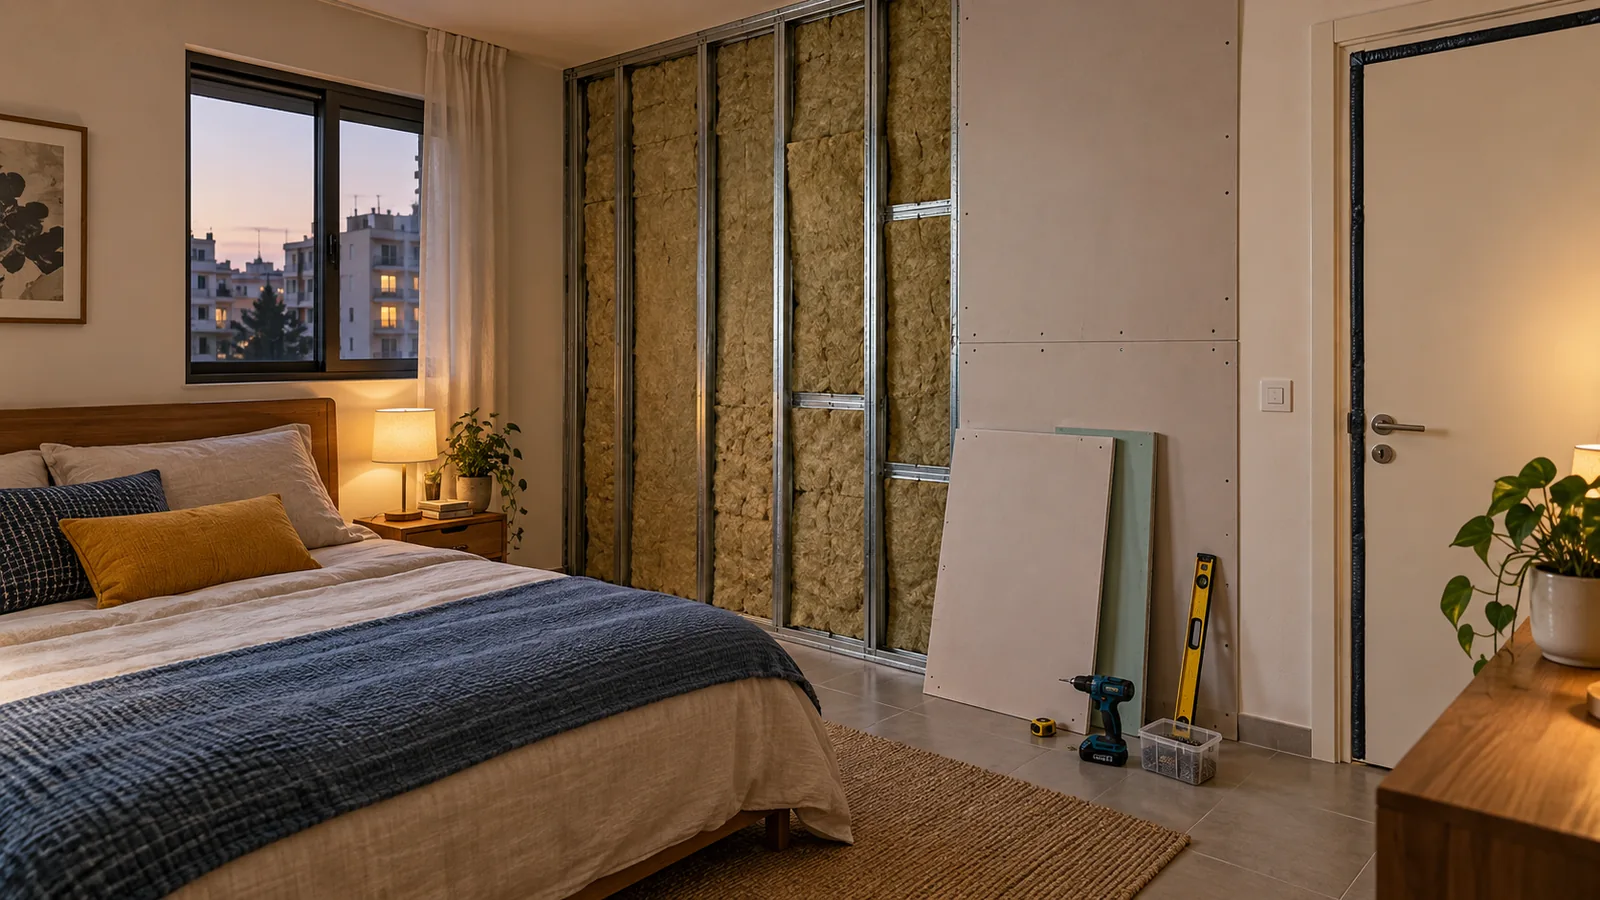
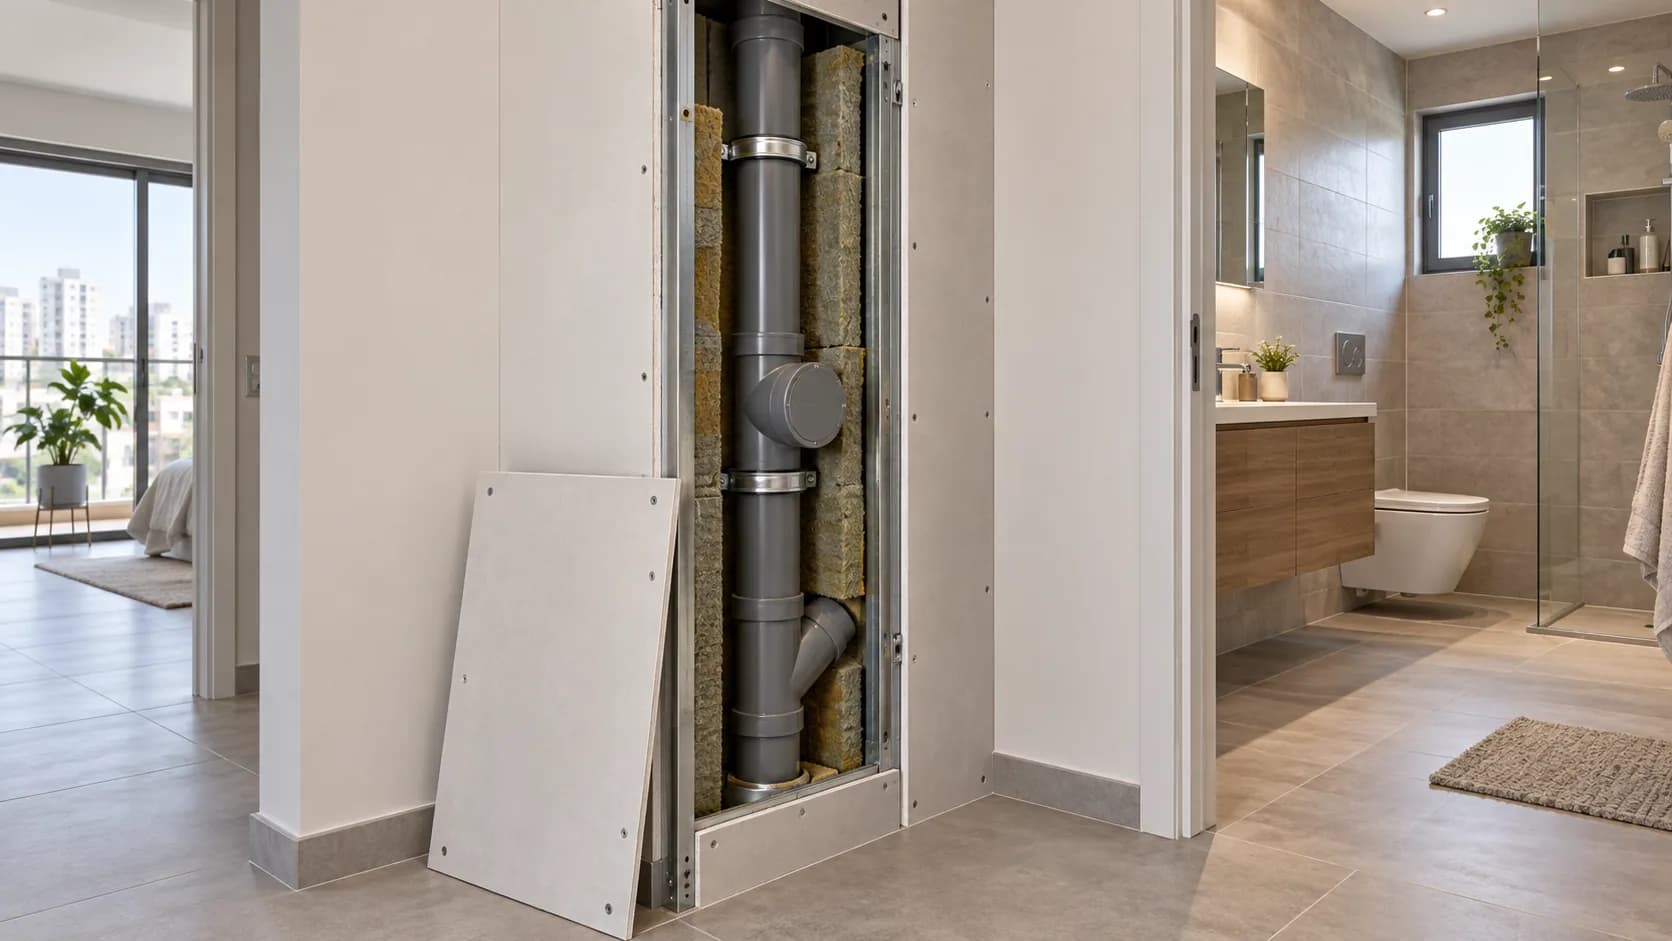
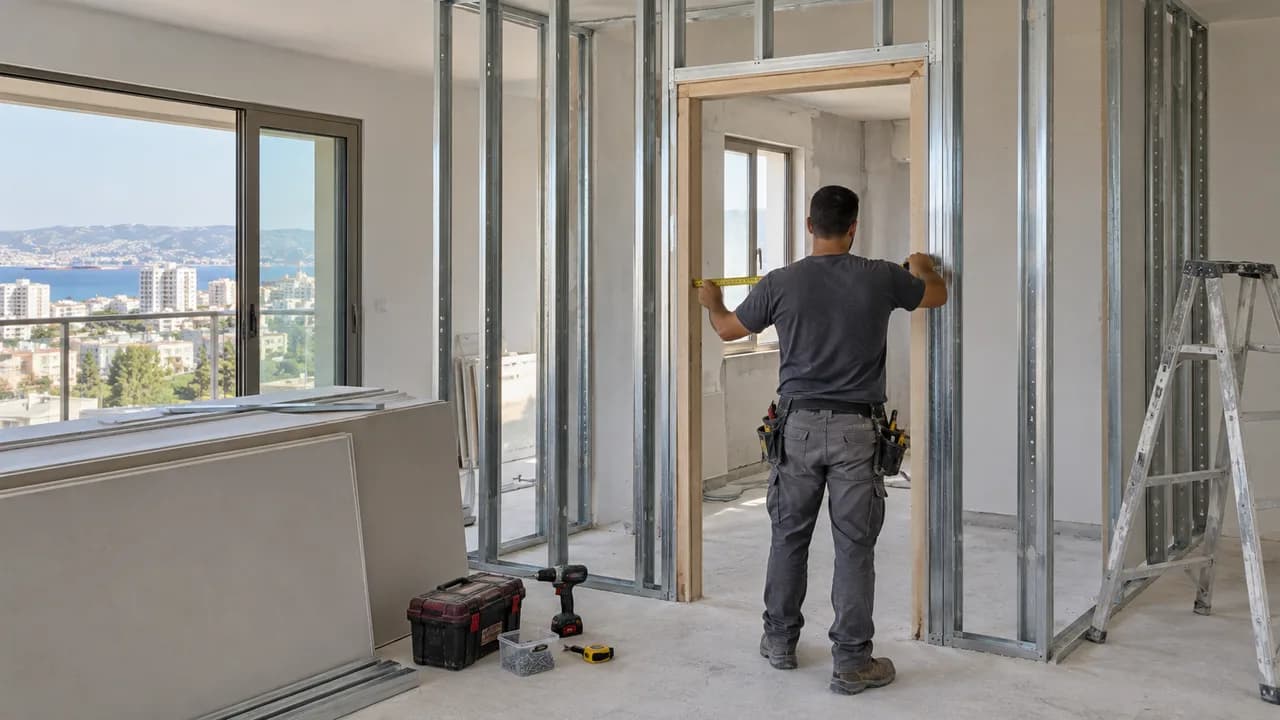
For speech through a shared wall, a new lining may combine a selected frame, cavity fill, gypsum layers and careful perimeter treatment. The exact build-up depends on the base and goal. A single glued board or loose mineral wool is not automatically equivalent to a properly designed acoustic assembly.
Ask for a section showing the thickness, likely loss of floor space, socket treatment and junctions. In a small room, a few centimetres can change wardrobe clearance and circulation around the bed. This practical loss belongs alongside price when comparing options.
5. Treat footsteps from above separately
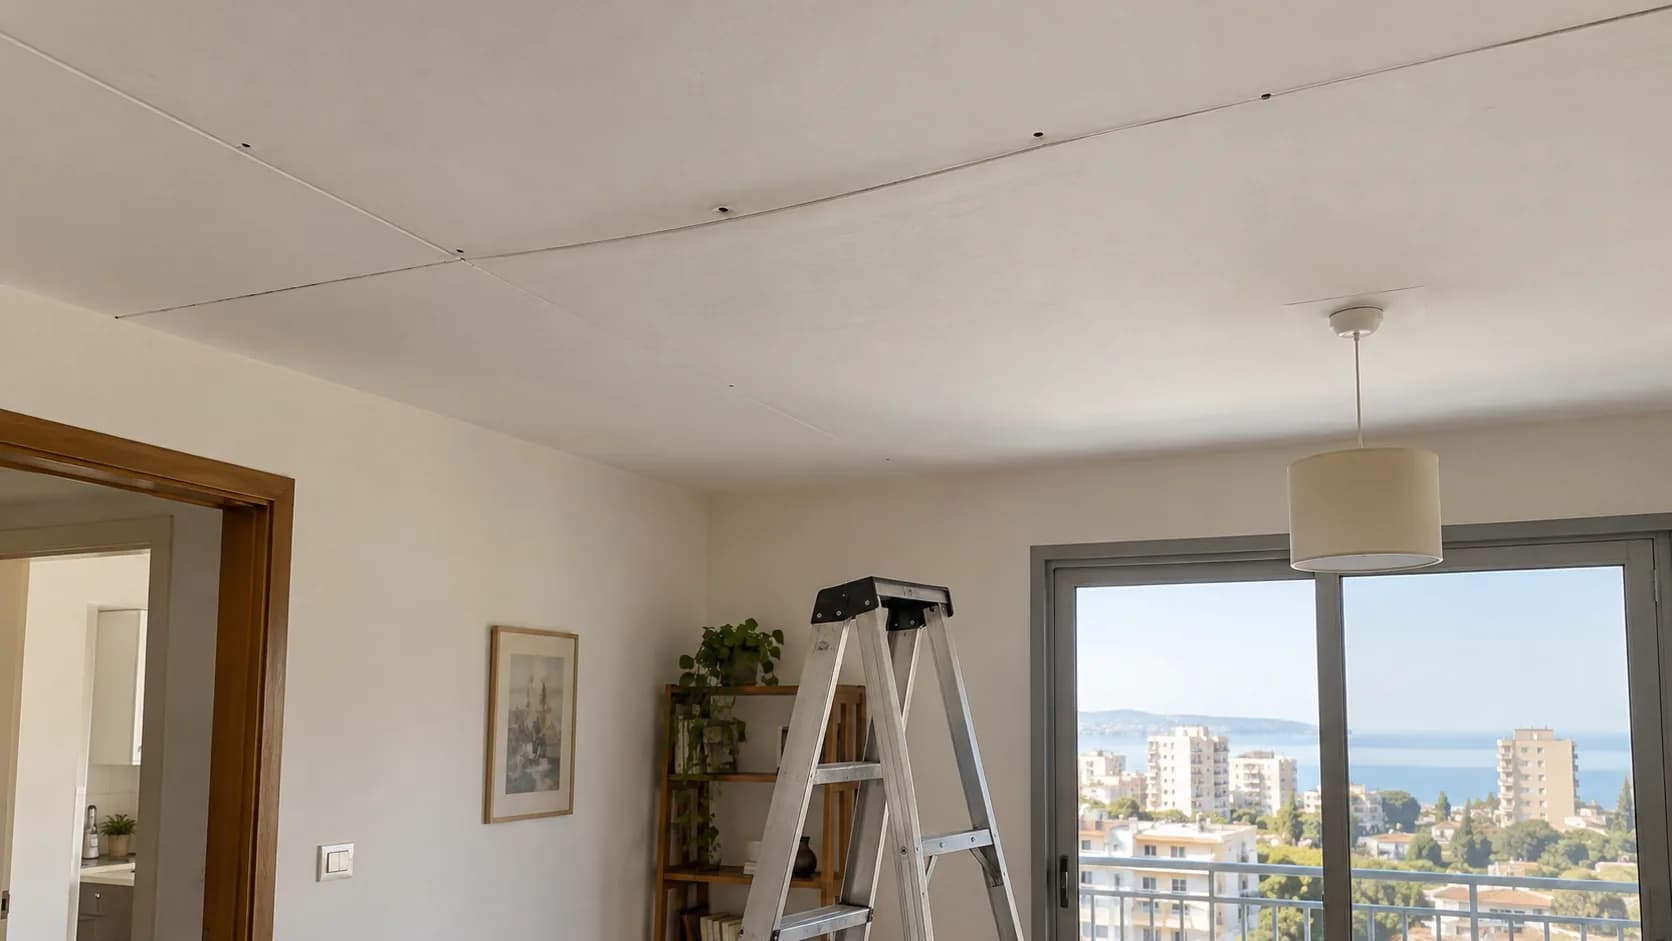
Impacts excite the building structure and can travel into adjoining walls. A suspended ceiling may reduce part of the sound, but cannot be promised to remove all footsteps. The result depends on the slab, connections and height available. A solution at the source floor, if possible, is a different intervention.
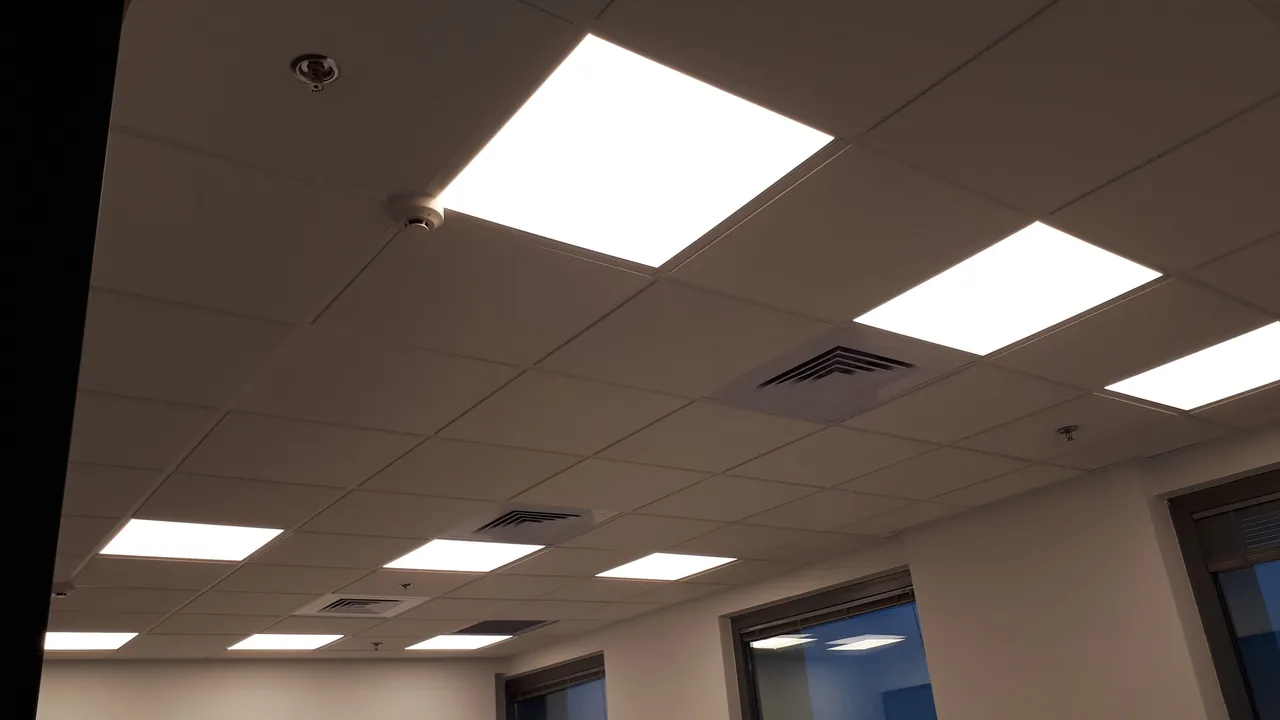
State the maximum acceptable ceiling drop and show light fittings, air conditioning and access panels. Compare a ceiling soundproofing scope with the other suspected sound routes. Do not approve a decorative ceiling solely because it is labelled acoustic.
6. Check doors, windows and gaps
A stairwell or street source may enter through the bedroom door or window rather than the shared wall. Look at the door leaf, frame, bottom gap and window reveals. Ventilation must not be blocked casually: it has to remain safe and serviceable.
Clarify which junctions the contractor seals and which require another specialist. Keep photos of concealed treatments and a list of areas left unchanged. This makes later discussion more precise than a vague promise that the whole room has been 'sealed'.
7. Plan the usable bedroom
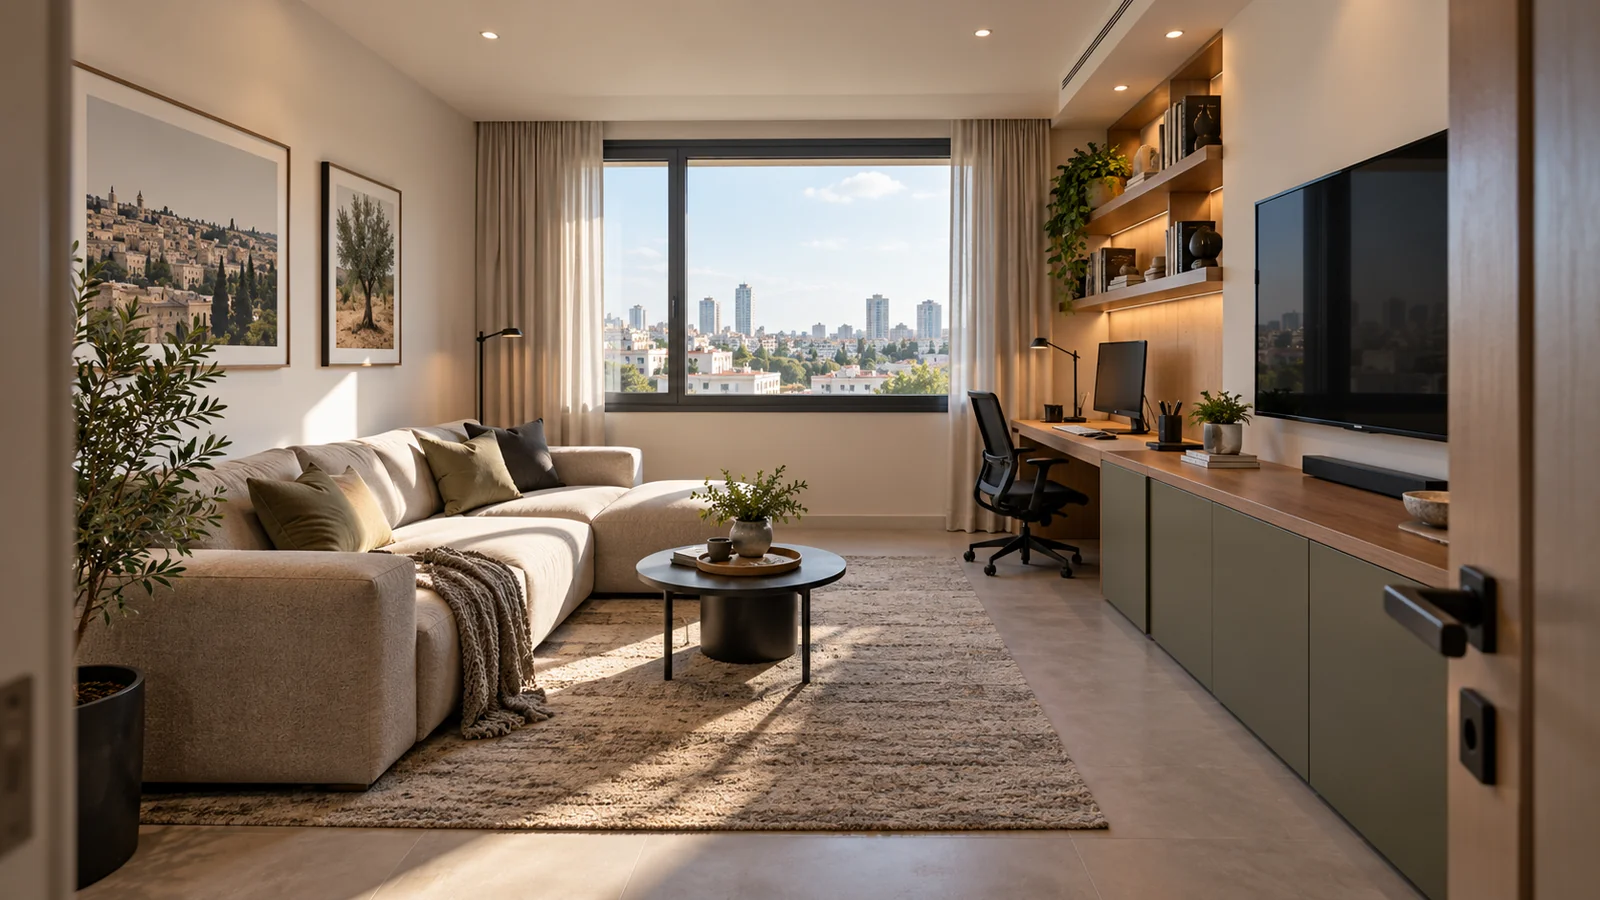
Move or protect bedding, clothes and furniture before dusty work. After completion, wardrobe doors, windows and room doors must open; curtains and light fittings need safe planned fixings. A bare acoustic lining without reinstated decoration may not be a complete usable bedroom.
Agree on skimming and paint under the room's real lighting. Strong bedside side light can reveal seams. Ask how the new lining meets retained flooring and skirting. These details may not improve isolation directly, but they strongly affect the quality and final cost of the room.
8. Price the complete path
The price depends on the number of surfaces, frame, boards, fill, perimeter complexity, existing fixtures, finish, access and protection. An unseen cavity is hard to evaluate from a close-up photograph. Compare quotes using the same construction and exclusions.
The calculator begins a budget discussion; it does not diagnose sound. If uncertain, ask for a targeted option addressing the strongest path and a broader alternative that explains what additional uncertainty it tackles.
9. Inspect without invented decibels
At handover, inspect agreed layers, visible gaps, finish, retained height, door operation and service access. An informal before-and-after listen should compare similar sound events where possible; the neighbour cannot be asked to reproduce identical noise. If a measured result is essential, agree on a professional measurement method before work.
If a disturbance remains through a different direction, revisit the original map and the quote's stated limits. That does not by itself prove the treated surface was built incorrectly. A useful result is a clearer, more comfortable room against the defined problem, not a promise of zero sound.
10. Enquire from Krayot or another service city
Send the city, bedroom size and height, photos of every wall, ceiling and door, and the noise diary. In Krayot as elsewhere, the assembly follows the actual room rather than a place-name formula. State whether the room can be emptied and how much space or height you can give up.
Nikolai can then advise which surface needs inspection first and whether another specialist is needed. The neighbour noise diagnosis guide helps distinguish mechanisms before you buy materials.
Questions
Will lining one wall help?
It may, if that is the main path; assess bypass routes first.
Is mineral wool enough?
No. It is one possible part of a complete assembly.
Will the room become silent?
Absolute silence cannot be promised in an unknown building.
What about upstairs footsteps?
Assess structure-borne impact noise and ceiling and wall paths separately.
Do decorative panels stop neighbours?
They usually address room reflections rather than cross-wall transmission.
Must every wall be treated?
Only if diagnosis supports the additional scope and space loss.
How is the price calculated?
From the full assembly, junctions, finishes and room conditions.
Can the outcome be measured?
Yes, if a suitable professional method and baseline are agreed in advance.
Can ventilation be sealed?
Not without appropriate engineering review of safety and operation.
Which photos should I send?
Show the room, shared wall, ceiling, door, window and junctions.
Relevant services
Guides and practical notes
Message Nikolai on WhatsApp with photos and dimensions, or call him to discuss the next step and what is needed for an estimate.