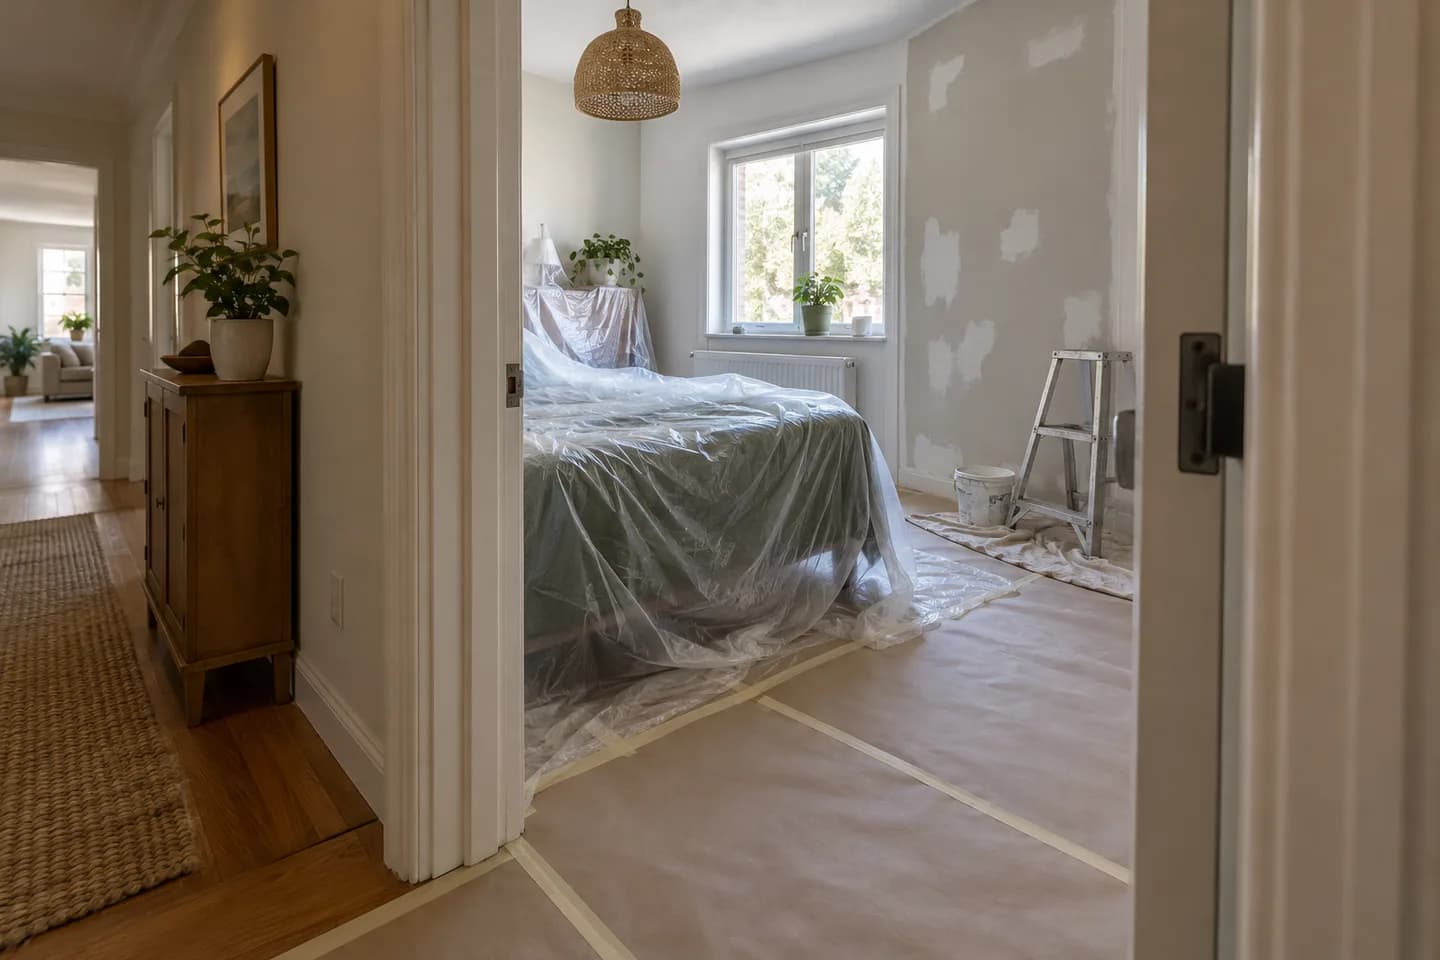
Drywall skim coat before painting in Or Akiva
Paint-ready drywall preparation: joints, tape, screw heads, corners, finish coats, sanding, primer and side-light inspection.
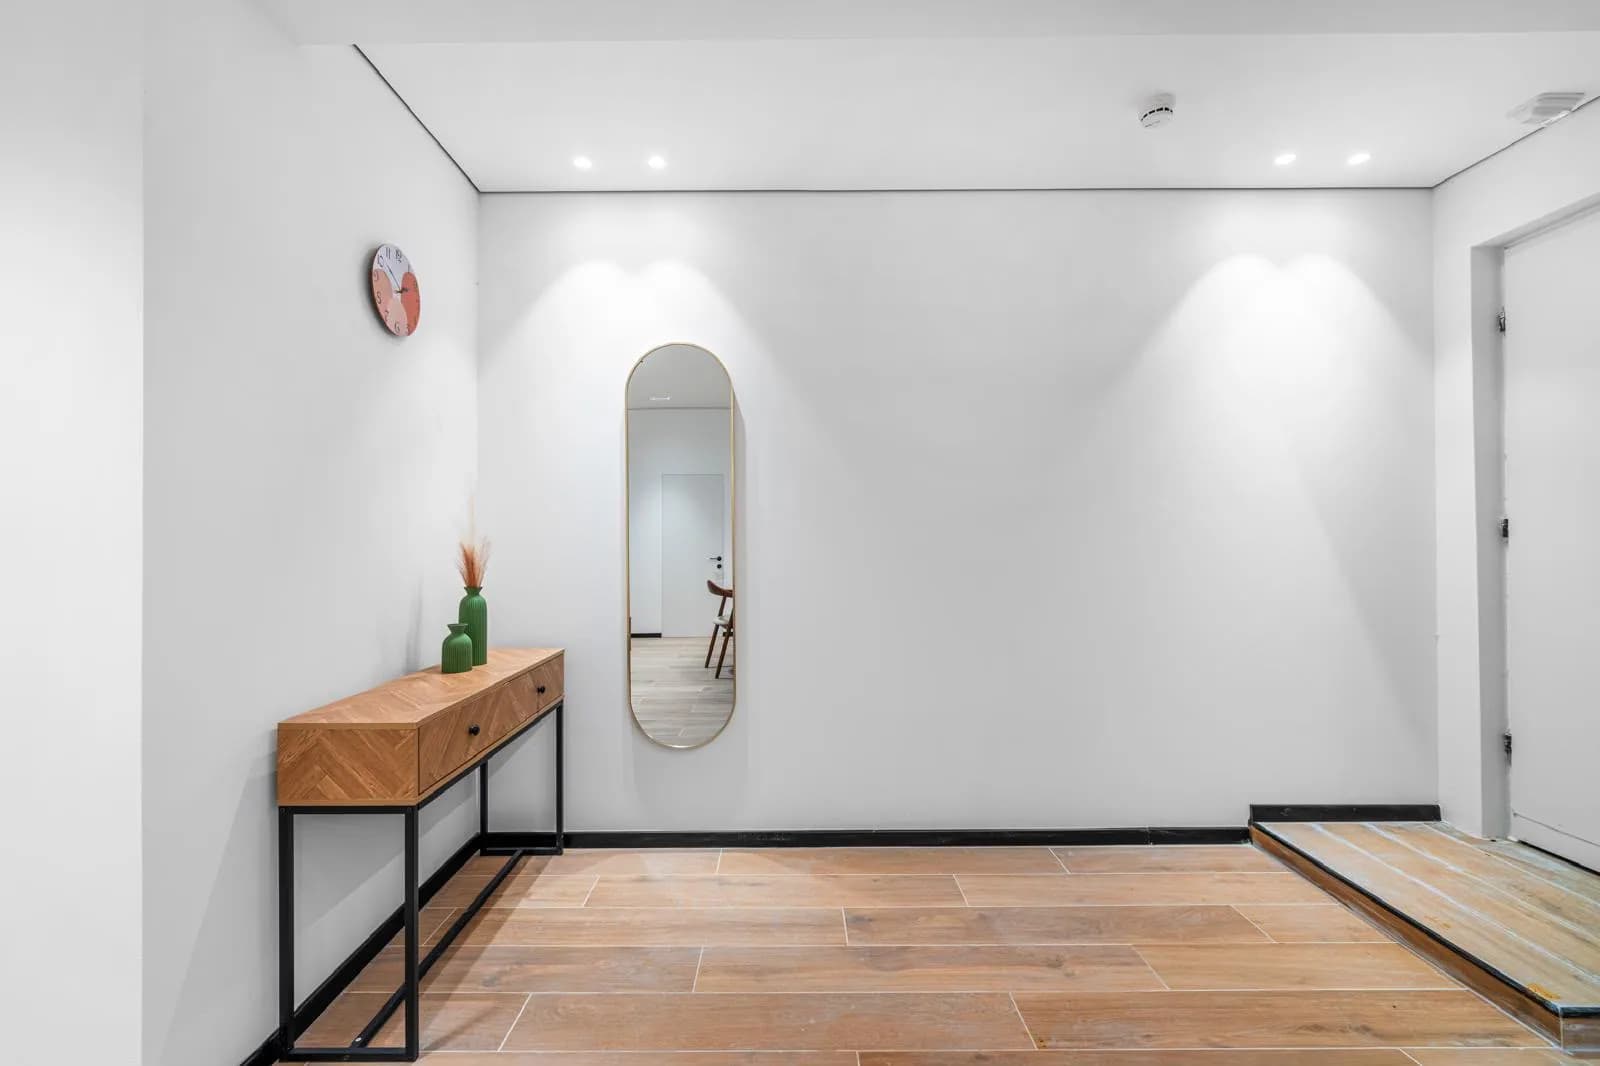
Paint-ready drywall preparation: joints, tape, screw heads, corners, finish coats, sanding, primer and side-light inspection. The approach is based on the actual property: dimensions, noise, services, substrate and finish.
What the work includes
Drywall skim coat before painting brings boards, seams, corners, screw heads and junctions to a flat surface that does not fall apart visually after matte paint. It is not just filling joints: the goal is to hide transitions between board paper and compound, prepare for primer and check the plane with light.
Substrate checks before finishing
Before finish coats, drywall installation quality, screw spacing, board gaps, tape, outside corners and areas near windows, ceilings, niches and LED are checked. The finish level is chosen early: wider seam passes, a full finish coat or stronger preparation for side light.
Typical projects in Israel
In Israeli apartments, drywall defects are often revealed by strong sun from large windows, LED lines, spotlights and white matte paint. Around Haifa, Hadera, Harish, Caesarea and northern Sharon, window humidity, AC zones and work in occupied apartments also affect planning.
Mistakes to prevent early
The main mistakes are painting without primer, sanding too roughly, leaving narrow joint bands, rushing drying, skipping side-light checks and trying to hide poor installation with thick finish compound. After paint, these defects become more visible, not less.
Price and scope estimate
Price depends on area, height, joint count, outside corners, installation quality, finish level, room protection, sanding, primer and old defect repair. A new straight partition and a ceiling with LED lighting are different scopes.
What to combine the finish with
This work connects with drywall joint taping, full wall skim coat, ceiling skim coat, primer, interior painting, crack repair and finishing after niches or ceilings. A good finish starts before the first paint coat.
Practice on Israeli projects
On a real project we account for substrate condition, joints, cracks, side light, primer, coats and the required finish level. Access, the state of the space and careful work in an occupied home also matter. That is why pricing depends not only on meters, but also on hidden details that finish layers will later cover.
Substrate and light checks
Before skim coat and paint, the key checks are substrate, joints, tape, corners, primer, skim coats, sanding, light and paint quality. The working focus stays the same: flat surface without seams, bands or side-light defects. These checks reduce showing joints, visible waves, cracks and uneven texture after painting.
Connection with nearby work
This service often overlaps with crack repair, paint, primer, drywall and local surface restoration. When framing, joints, access, primer and paint are agreed early, the result looks calmer and depends less on last-minute decisions.
Prepare the board face and joints for the chosen paint · Or Akiva
The finish requirement depends on the board, joint condition, repairs and intended lighting, not only the wall area.
Inspect joints separately from broad texture
Mark visible seams, damaged tape, fastener areas and differences across the board face. A joint defect and general surface unevenness may need different work. Do not assume that another thin decorative layer will correct a loose or moving underlying detail.
Define the accepted painted plane
State the paint type and viewing conditions, including relevant side light. Decide whether work concerns local preparation or the complete wall or ceiling plane. The phrase ready for paint needs a boundary and result rather than an undefined assurance that any coating will hide every previous detail.
Coordinate before the last stage
Confirm openings, new fittings and any specialist service work before final preparation. Record junctions to old plaster, corners and retained trim. Where a sample is agreed, use a representative area and define its review stage instead of comparing the real wall with an unrelated perfect panel.
Compare preparation and decoration separately
List joint repair, broader preparation, primer and paint as the agreed stages. If painting is assigned elsewhere, state the surface handed over and who accepts it. Keep product references and relevant concealed corrections documented so a future issue is not reduced to an argument about the number of coats.
The room and address · Or Akiva
For an Or Akiva room already in use, map the affected seams on one overview and define the finished plane. If only a small part of the room changes, show what stays and how the transition is accepted. This helps distinguish a real joint repair from a general request to cover visible lines with more paint.
Choose the painted plane rather than the apartment floor area
For finishing in Or Akiva, list walls and ceilings individually and mark repairs on a room overview. A local defect, a complete plane and a whole room are different boundaries. Include retained furniture, contrasting old paint and any light that makes texture visible. Decide where preparation ends and where final colour continues, rather than expecting every patch to disappear into an aged coating. Compare the same product stages and viewing conditions. The quantity for an estimate comes from the surfaces and their condition, not simply the apartment's advertised floor area.
Define the work boundary inside an occupied property
Mark the surfaces that change and the surfaces that stay on the same room plan. State whether the family or staff will use adjacent rooms, who clears the work area and when furniture returns. A small intervention can still affect a wall, floor junction or ceiling outside its visible outline. Ask the quotation to name those connections and the finished boundary. The neighbourhood name is an address reference, not a diagnosis of the substrate or a basis for an automatic surcharge. Additional work is agreed before it begins.
Compare a complete scope
Scroll the table horizontally to see all columns.
| Decision | What to define | Agreed result |
|---|---|---|
| Joint defect | Tape and support condition | Appropriate correction |
| Broad texture | Full-plane requirement | Defined preparation boundary |
| Paint handover | Product and light | Accepted ready surface |
Questions before agreeing the work
- Will more paint hide a damaged joint?
- Not reliably. The underlying detail needs the appropriate assessment and correction.
- Is painting included?
- Only when explicitly named along with the surface and preparation stages.
Customer reviews of Nikolai's work
Read all reviews on our site8/10MidragThe low ceiling to hide the air conditioner in the kitchen and living room, including high-quality hidden openings in special sizes.Translated review excerptNikolai came and was very helpful in solving the problem in the kitchen, but then we waited more than a month and a half for the work to be done. Finally, the quality of work is perfect.
ש. כ. בנימינה. · Midrag · Read on Midrag
9/10MidragRepair of drywall niches in a very high ceiling following a leak from the roof. The repair and painting of the living room required work with scaffolding. In addition, plastering works due to moisture from the windows and walls.Review summaryFollowing a roof leak, Nikolai repaired drywall niches and a high ceiling, then painted the living room. The customer highlighted his responsibility and the team's workmanship.
מוטי ל. · Midrag · Read on Midrag
5/5EasyReview summaryQuality, timing, reasonable pricing.
Мариам В. · Easy · Read on Easy
Planning a job in Or Akiva
Address and access
For a property in Or Akiva, provide the exact address, floor, lift access, unloading options and permitted work hours. These details are checked before arranging a visit and defining the quote.
What to send for an initial estimate
Send a wide view and close-up photos of the work area, approximate dimensions, substrate condition and the result you want. Note any finished surfaces needing protection and work already assigned to another trade. The final scope is confirmed after a site check.
Send photos, dimensions or a short description. A quick call helps understand the construction type, rough budget range and whether an on-site survey is needed.
Relevant services
Estimated prices
Questions
When is drywall skim coat before painting needed?
It is needed when drywall must look like a smooth painted wall or ceiling, with no visible seams, screw heads, waves or patches. Joint taping alone is often not enough, especially near windows, LED lighting or long matte-painted surfaces.
How is this different from joint taping?
Joint taping closes seams, tape, screws and corners. Skim preparation for paint brings the whole plane to the required finish level: transitions are widened, sanding marks are reduced, and the surface is prepared for primer and light inspection.
Does the whole board need skim coat?
Not always, but visible walls, ceilings, side-lit areas and LED zones often need wider passes or a full finish coat. If only narrow strips are left over joints, paint can reveal different textures and banding.
Why is side light so important?
Light from a window, LED cove or wall fixture reveals small ridges, sanding scratches and seam transitions. The surface should be checked before paint, not after. Matte paint hides less than expected when the plane is poorly prepared.
Which materials and stages are included?
Typical work includes checking fixings, taping seams, corner beads, several compound passes, drying, sanding, dust removal and primer. The exact build-up depends on drywall installation quality, lighting, height, humidity and required finish level.
Can paint be applied right after skim coat?
No. The surface must dry, be sanded, cleaned from dust and primed. Painting over damp or dusty compound causes stains, weak adhesion, stripes and uneven absorption. Drying time prevents rework.
Can the work be estimated from photos?
A preliminary estimate is possible. Send full wall or ceiling photos, close-ups of seams, corners, window areas, LED lines, screws, height and general lighting. A short side-light video along the plane is especially useful.
Which mistakes show after painting?
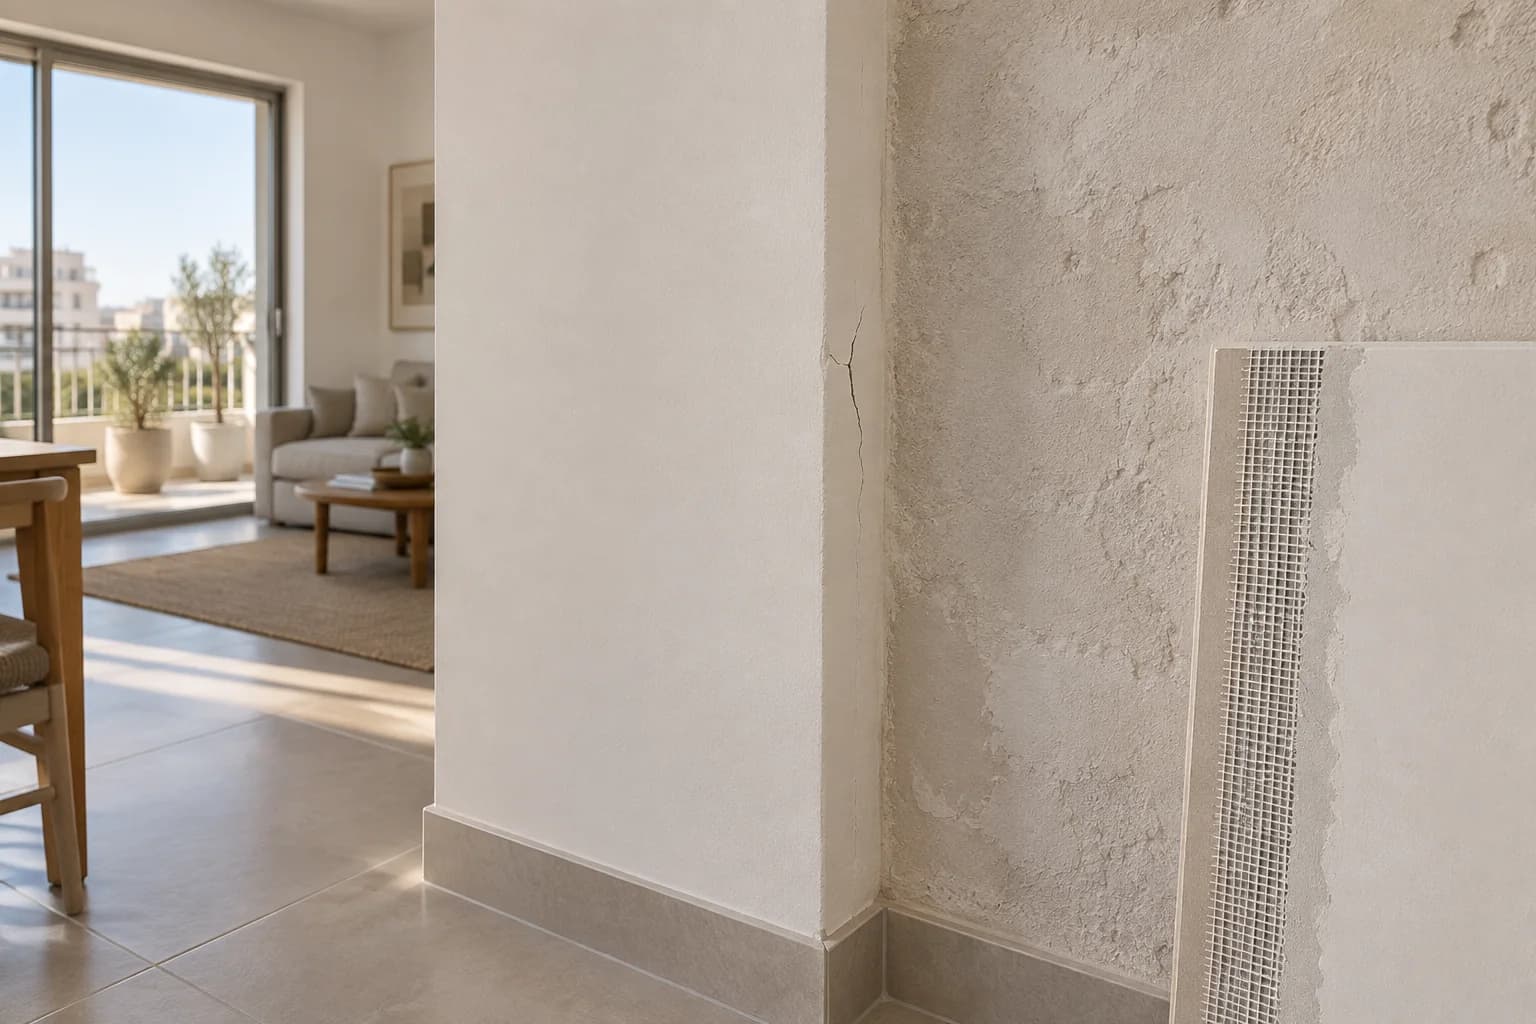
The most visible mistakes are ridges at seams, sunken screws, rough sanding, skipped primer, cracks without tape, wavy corners and texture differences between board paper and compound. Fixing this after paint is more expensive than checking before finish.
Which photos help estimate "Drywall skim"?
Send a wide room view, close photos of the problem area, floor and ceiling junctions, electrical points, AC routes, doors, future furniture and lighting. These photos show not only area, but also hidden details.
When is access or an inspection panel required?
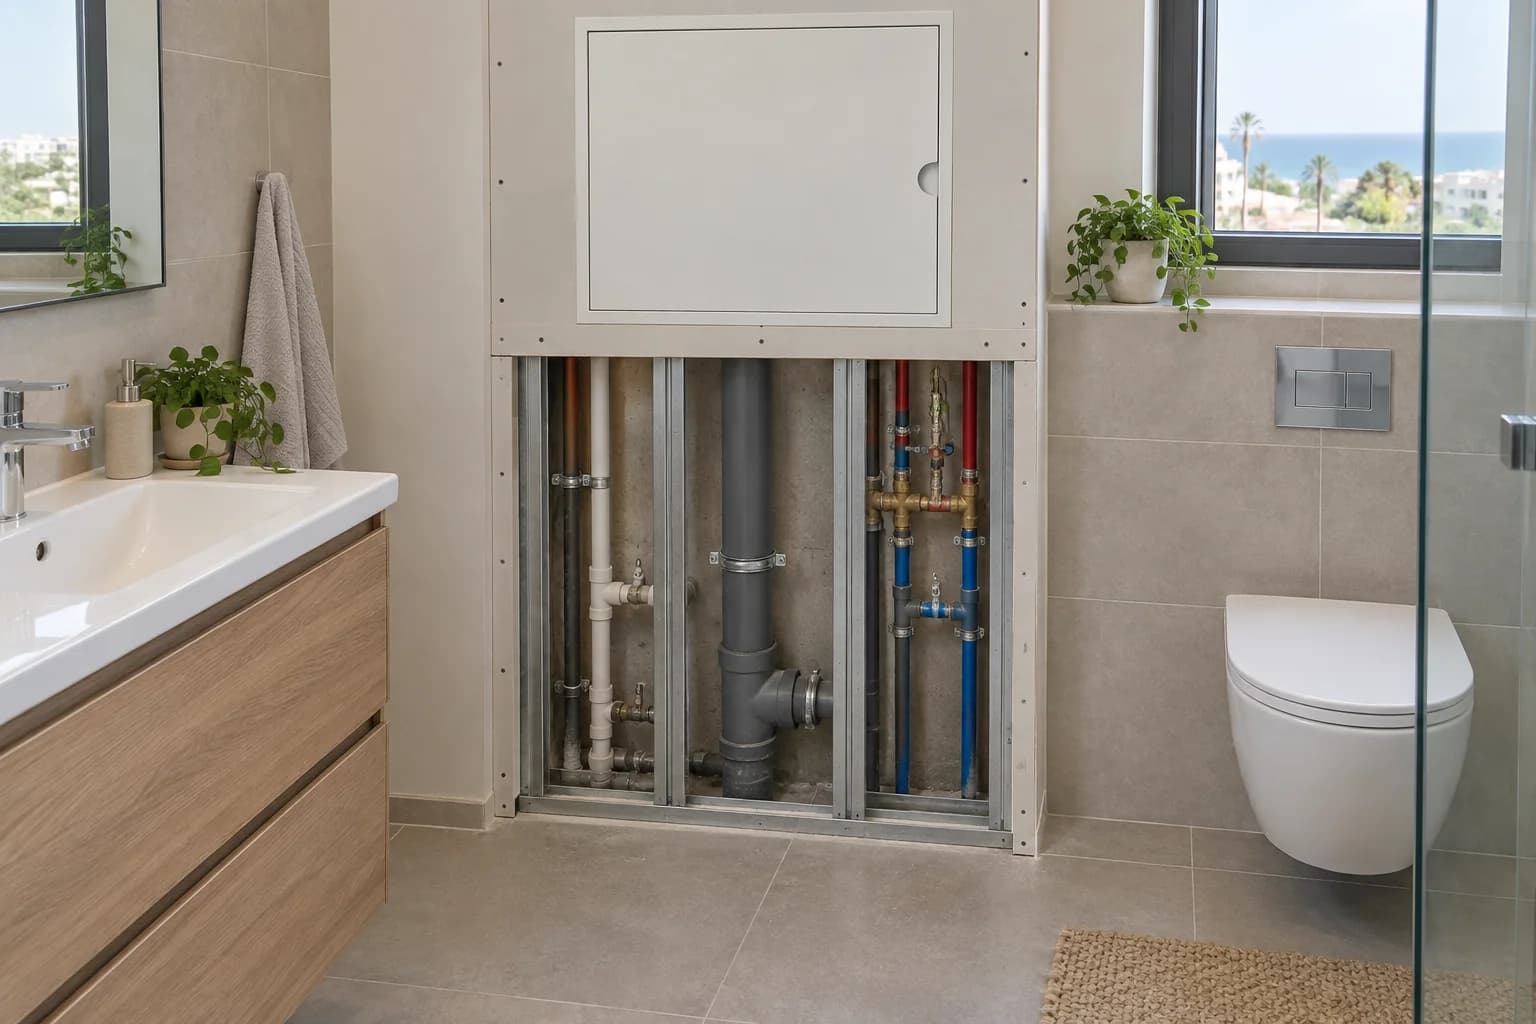
If drivers, valves, pipe joints, AC lines, cable junctions or equipment remain inside, access should be planned from the start. Closing those points permanently is risky because service work will damage the finished surface.
What is most often underestimated in "Drywall skim coat before painting"?
Preparation, junctions and finish are usually underestimated. The working focus is flat surface without seams, bands or side-light defects, but the result also depends on substrate, fixings, joints, primer, lighting and how the job connects with nearby stages.
Can the work be done in an occupied apartment?
Yes, but room order, floor and furniture protection, dusty stages, drying time and waste removal should be agreed in advance. In lived-in apartments, clean organization matters as much as installation quality.
Guides and practical notes