
Which photos and measurements help a drywall contractor quote accurately?
A homeowner checklist for photographing rooms, ceilings, services and defects, measuring a partition, describing access and knowing when an on-site survey is needed.
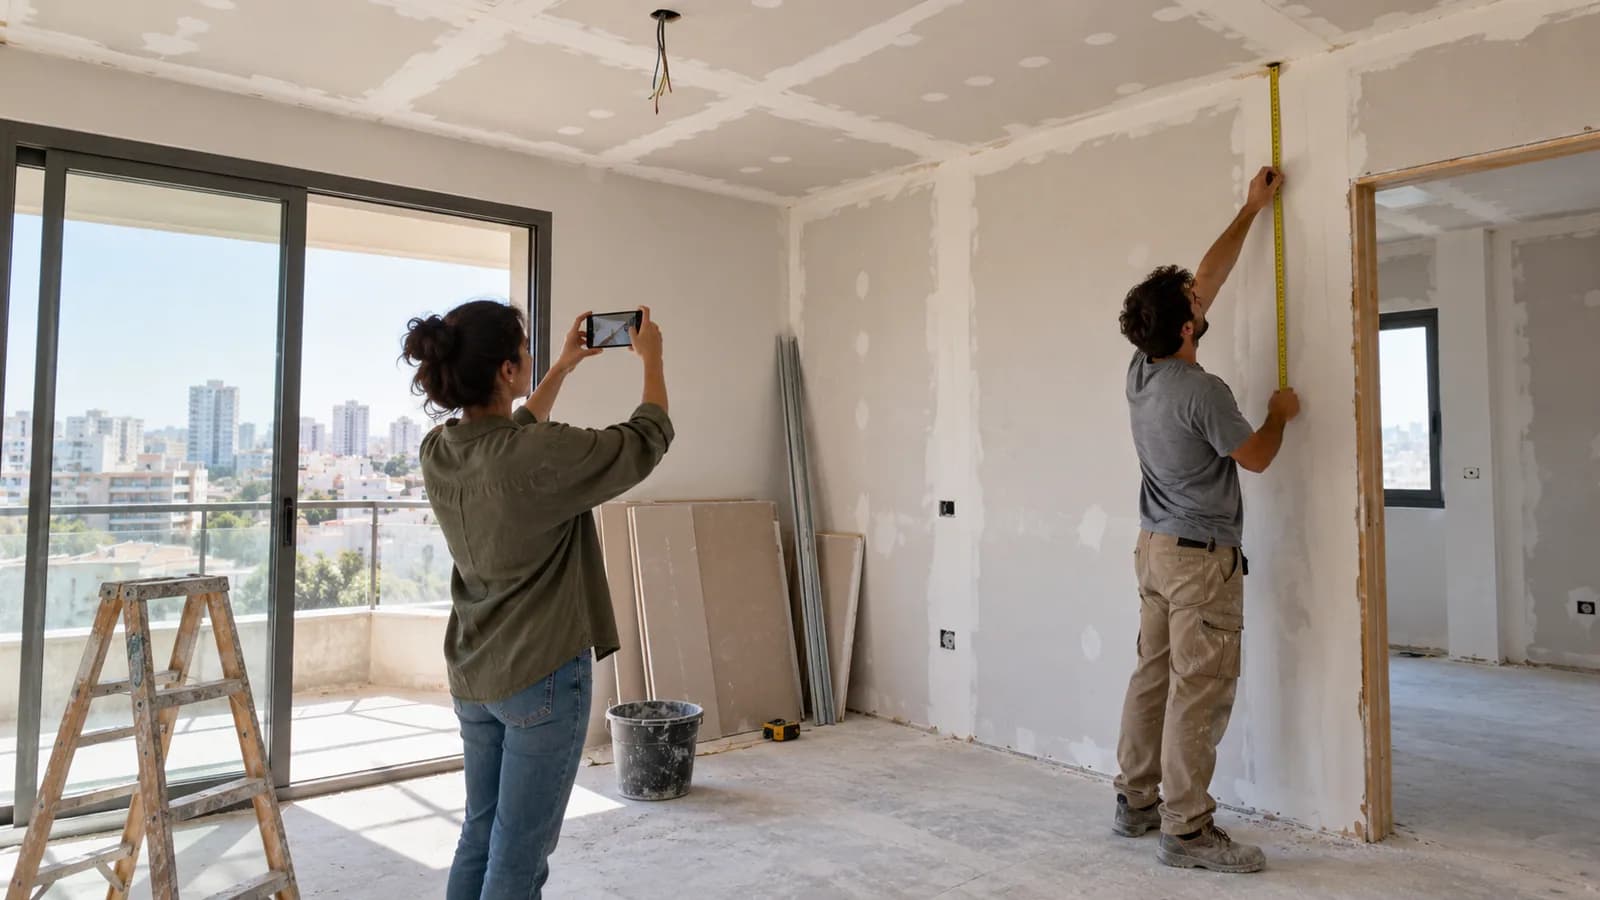
A message asking “How much for this ceiling?” with one close-up of a corner usually produces a very wide price range. A contractor needs context as well as dimensions: city, room layout, substrate, lighting, air conditioning, material access and expected finish. You can collect useful information in 15–20 minutes without construction experience. This guide explains the photographs and simple sketch to prepare for a drywall partition, ceiling, niche or local repair in Israel. It does not replace a professional survey. It helps the contractor give a meaningful preliminary answer and identify what must be checked in person. Do not open a lining or touch wiring merely to take a picture.
1. Begin with a short job card
State the city, room type, floor level, lift availability, whether the flat is occupied and your desired timing. Describe the outcome in one sentence: divide an office, reduce speech noise, hide an air-conditioning route or prepare a ceiling for new lights. Mention old finishes and who will handle electricity, painting or door installation. If conserving height matters, specify the minimum acceptable clear height. These details affect delivery and the boundary of the estimate. Keep the same card for every candidate so responses address the same job. The contractor selection checklist helps you assess the answers beyond a total price.
2. Photograph each room from two corners
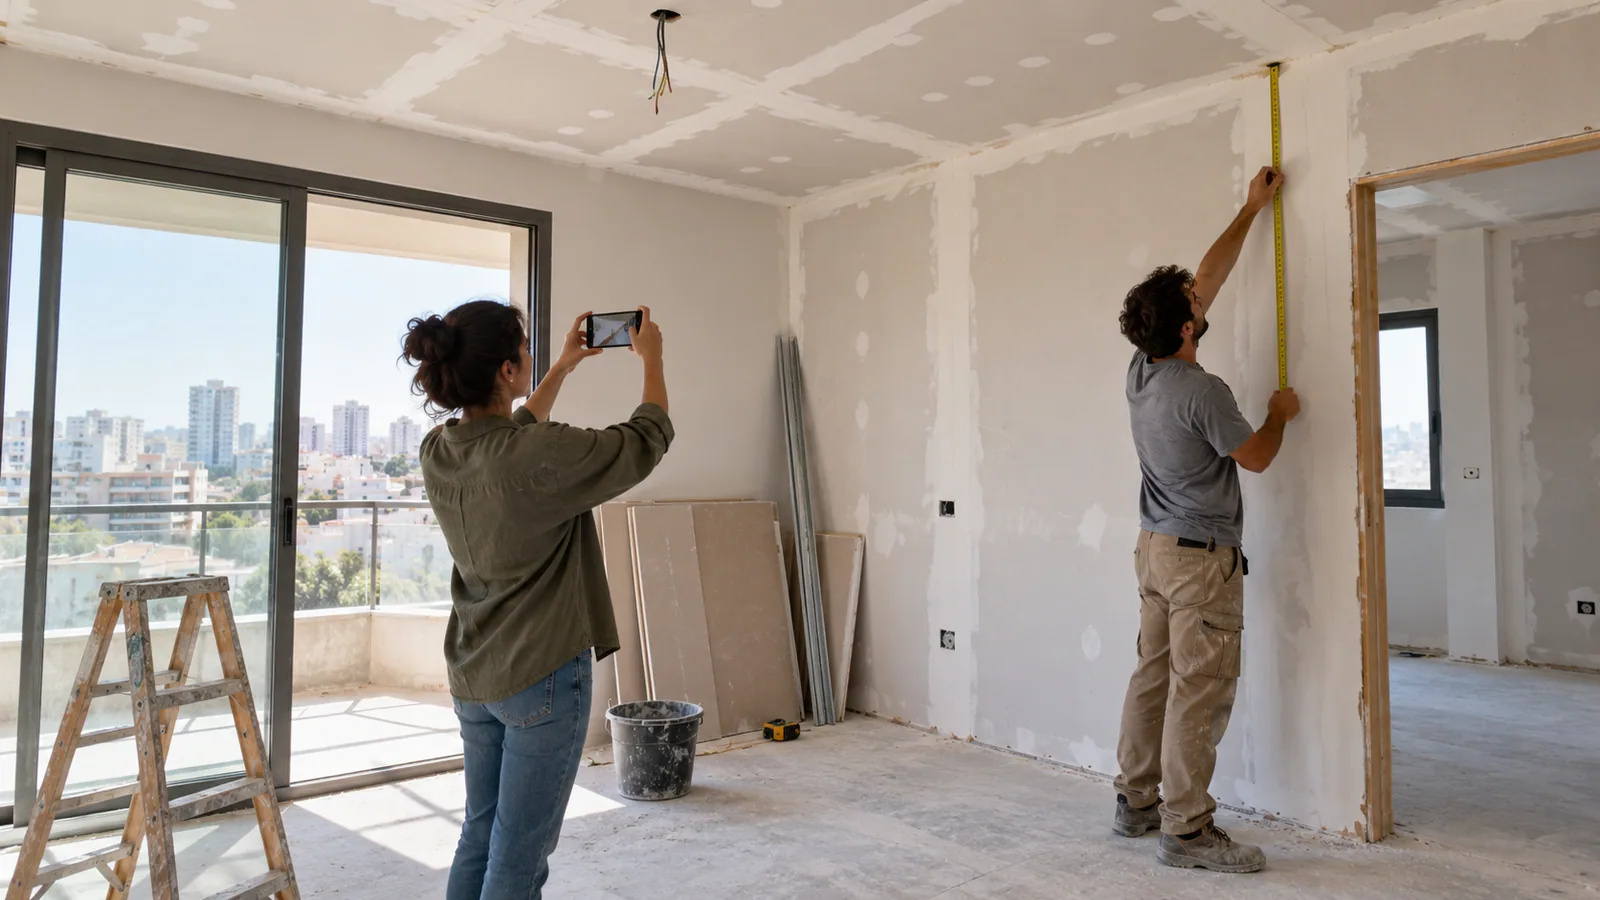
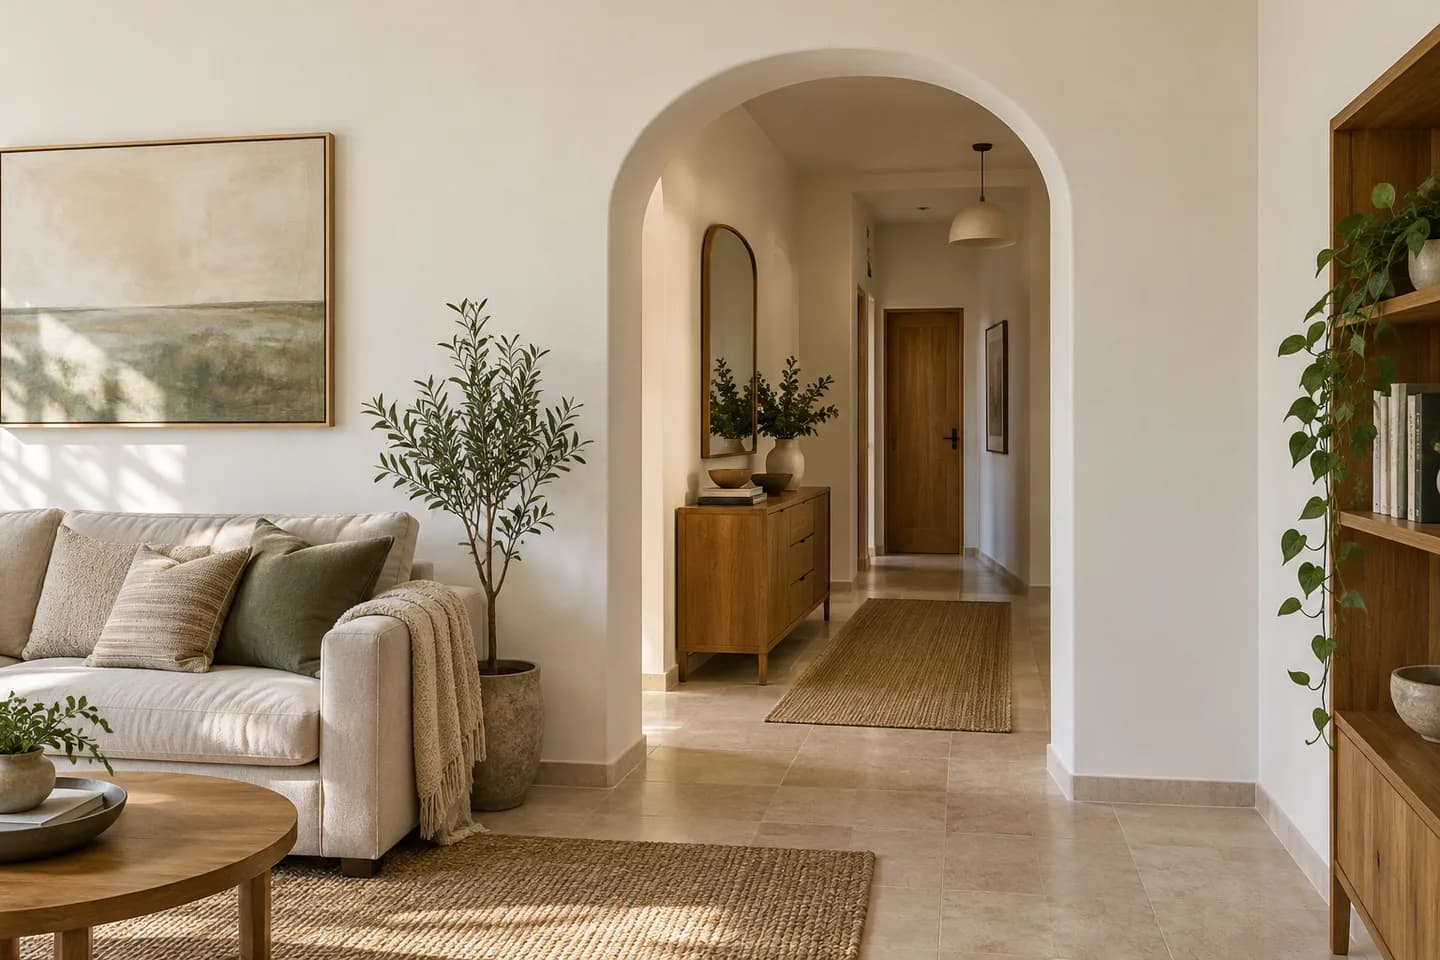
Take a wide image from the entrance and another from the opposite corner. Include floor, walls and ceiling in the frame. A close-up hides scale and junctions; a wide view shows windows, openings, furniture and visible services. Avoid relying on a highly distorted panoramic image. If several rooms are involved, label files with names such as “living room overview” and “hall ceiling”. Remove personal documents and children's faces from the frame. Wide views do not provide precise area, but they help a contractor understand access and decide which details to request before a visit. A second viewpoint reduces confusion about which wall is proposed for the work.
3. Add detail images of difficult points
Photograph cracks, damp stains, existing access panels, air-conditioning boxes, sockets, pipes, heavy furniture fixings and the intended door position. Take one image with a ruler or tape near the defect and another from farther back to show its location. For suspected moisture, explain when the stain appeared and whether rain or air conditioning affects it. A surface image cannot prove that the cavity is dry; solve the water source first. For noise, describe time and character of the sound rather than only sending a clean wall image. The noise diagnosis guide explains why this distinction matters.
4. Measure length, height and area
For a new partition, record length along the floor and height at the start, middle and end. For a ceiling, measure room length and width, then note projections and niches. Do not silently round 3.6 m to 4 m: a difference changes board and profile quantities. Draw a basic plan and number the photographs to match it. If you cannot safely reach a ceiling, avoid standing on furniture; mark the height approximate or use a floor plan. For a long wall, show both corners and any bend. Uneven geometry changes cutting, joints and the quantity of finish. The professional can correct the measurements during the survey.
5. Check what area the price item describes
A 4 m wall at 2.8 m height has one calculated plane of 11.2 m². Boards on both faces occupy 22.4 m² of physical surface, but a finished-partition rate may already include both sides. A single wall lining uses another measurement rule. A door reduces board area while adding framing and edge work. Ask what one square metre includes in the chosen price item. For a ceiling box or lighting cove, measure linear length, depth and corners. The calculator guide works through a partition example without doubling the same construction. Store the measurement rule beside the quantity so a quote can be verified.
6. For ceilings, show service obstacles
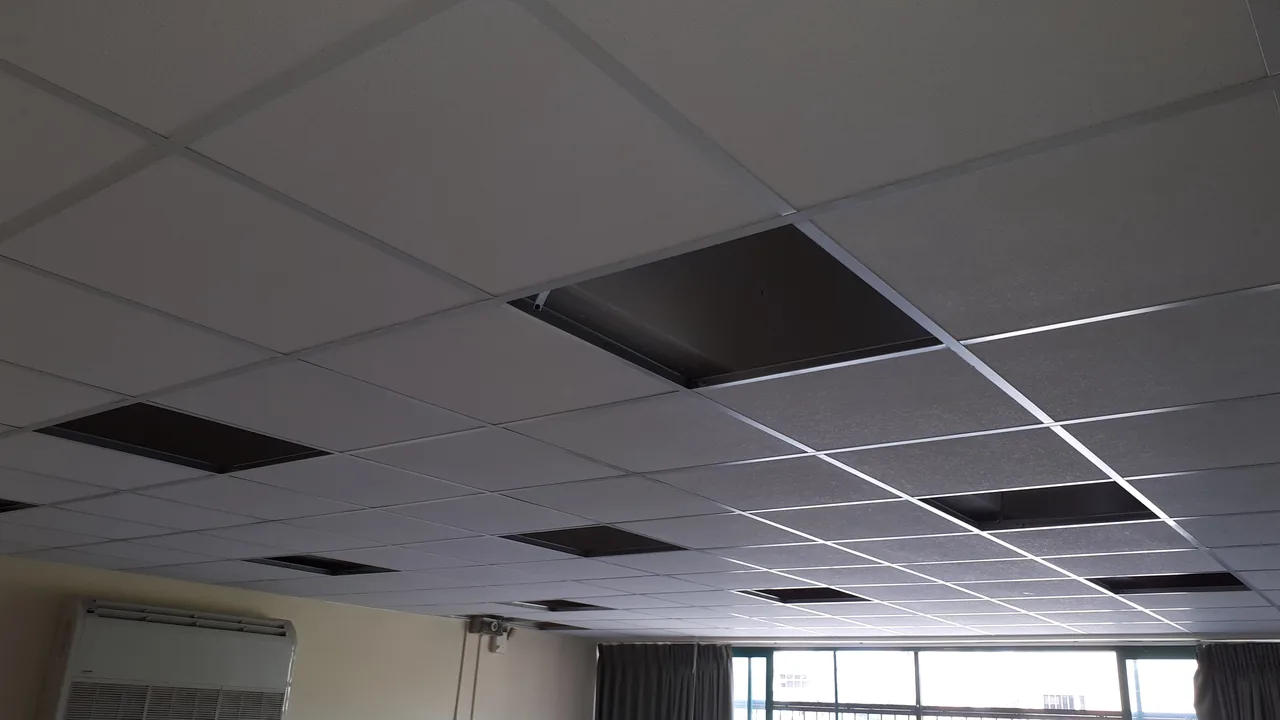
Photograph the whole existing ceiling, air-conditioning connections, pipes, ventilation, lights and intended new fixture locations. Mark which filters, joints or LED drivers will need access later. Measure clearance above the upper edge of doors and wardrobes so the dropped ceiling will not block them. Say whether light positions may change. If a leak is present, repairing the finish before finding the cause risks repeating the work. The ceiling planning guide explains why height, lighting and access should be decided before framing. A ceiling photo with no nearby walls is rarely enough to understand these dependencies.
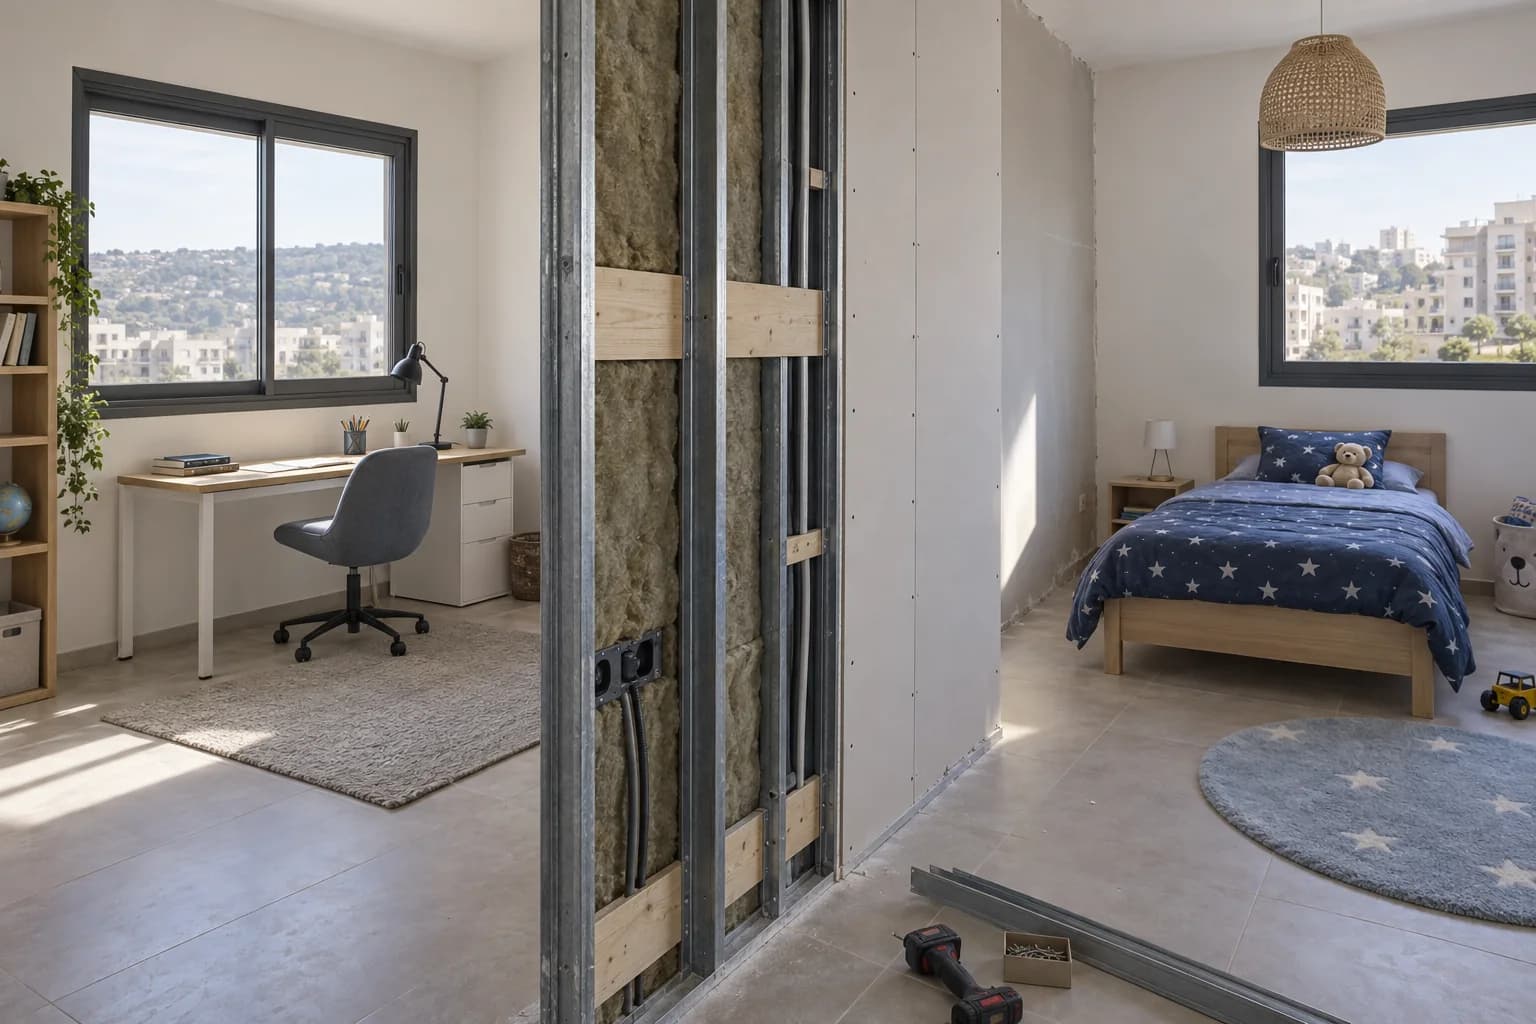
7. For partitions, identify future loads
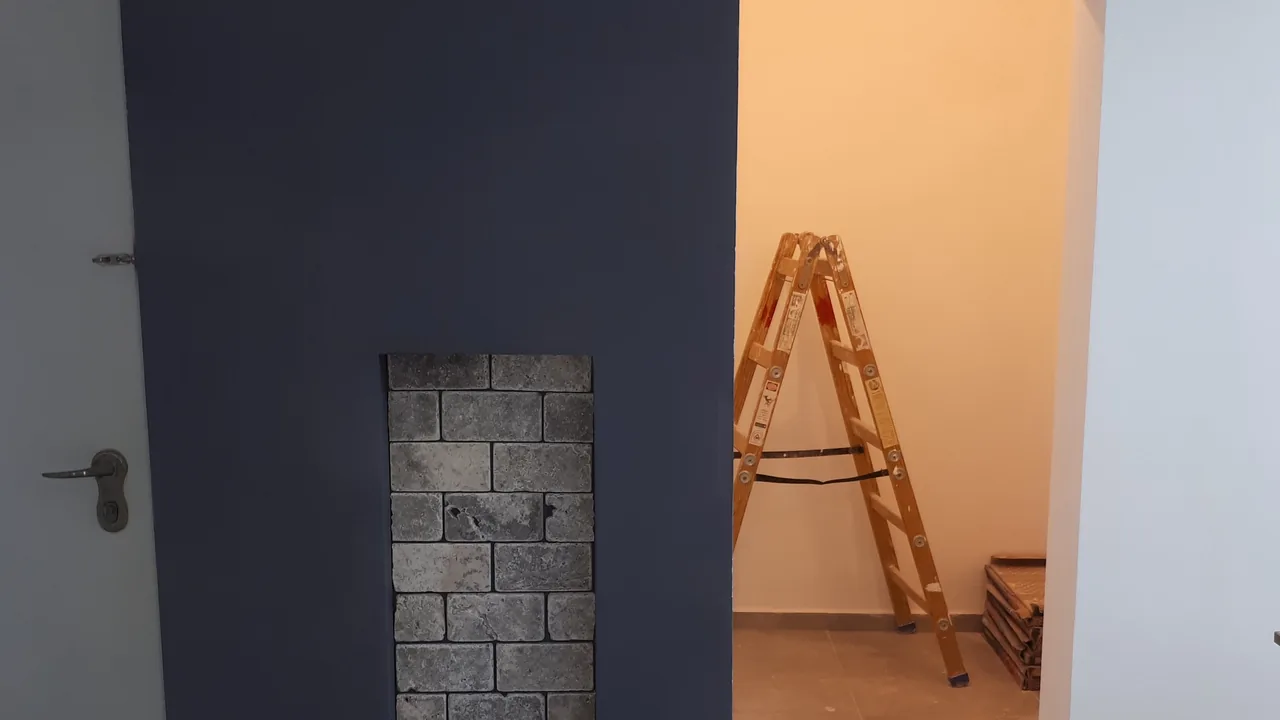
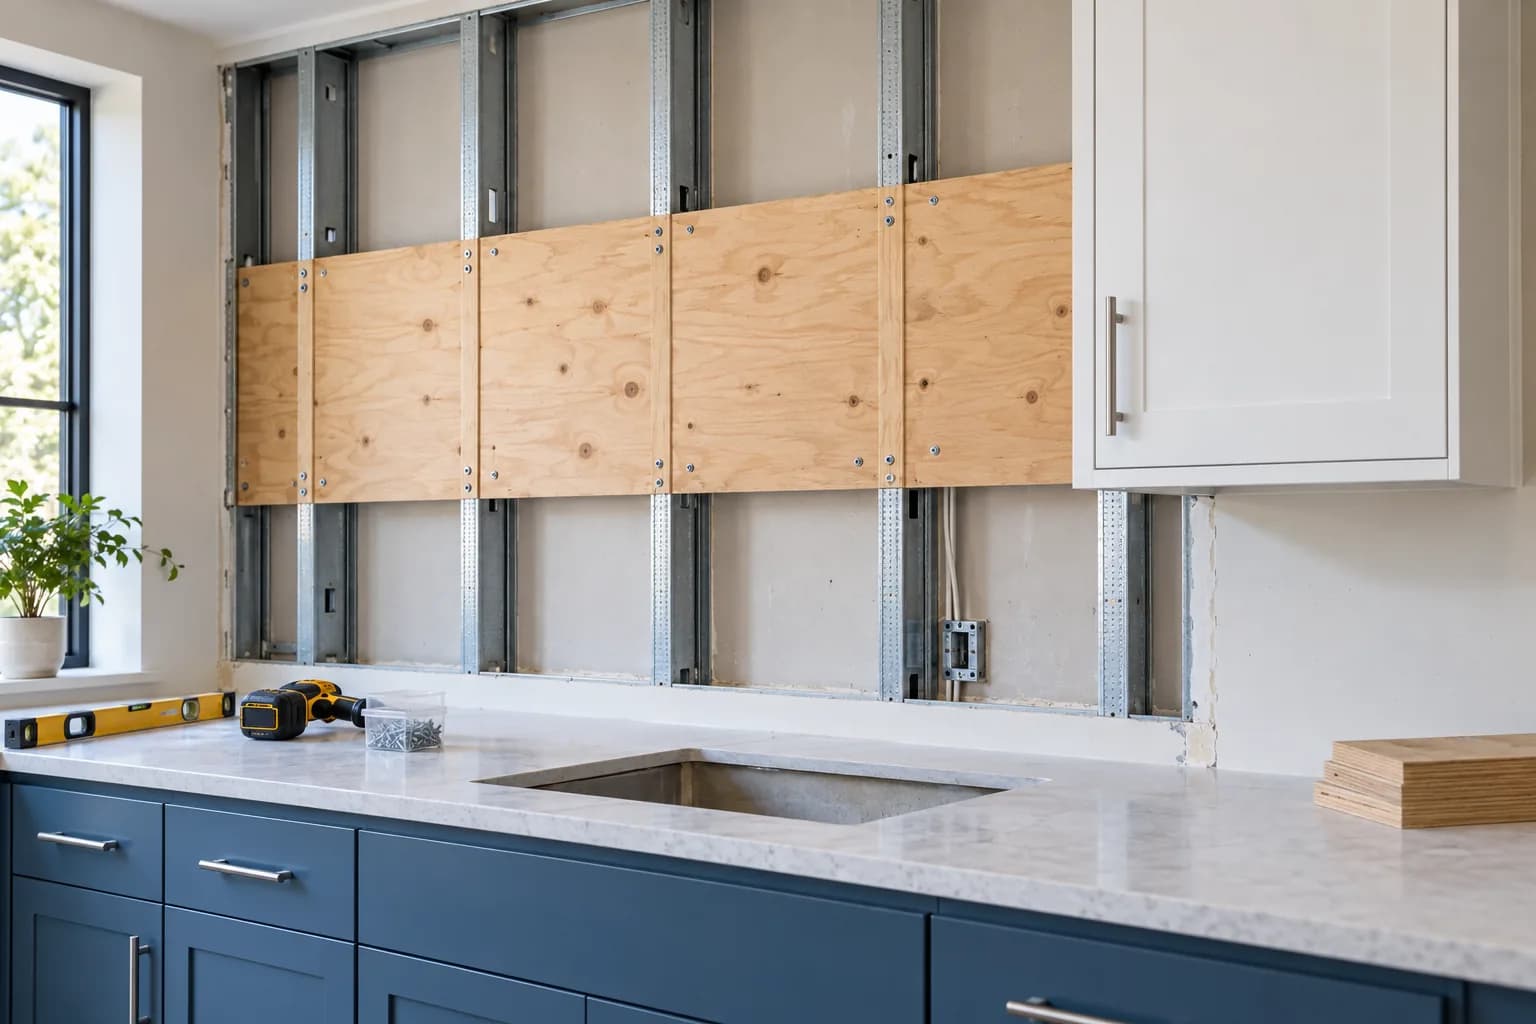
On your sketch, mark doors, televisions, shelves, kitchen cabinets, a sink or heavy equipment. Check the door swing and clear passage after the wall is added. Furniture photographs work best with dimensions and proposed fixing heights. Heavy loads may need backing installed before boards cover the frame. If privacy is the goal, include the existing door and routes above the ceiling; a small opening can weaken an expensive acoustic assembly. The quiet partition guide illustrates these details. A contractor can only plan the backing and service routes if they know what will be attached and where.
8. Describe occupancy and access in words
An image may not reveal that the flat is furnished, parking is distant, the lift is small or noisy work is limited to certain hours. Tell the contractor directly. Mention dry storage for boards, waste removal, valuable floors, children and pets. Difficult delivery and restricted hours affect organization and timing even at the same board area. Old plans can be attached as references, but actual cable routes should be checked before drilling. Do not share documents containing private data unnecessarily. These practical conditions often explain price differences that cannot be seen in an image of the intended wall.
9. Specify the finish you expect
Show adjacent walls and say whether you want rough boarding, preparation for paint, painting to match or a finish judged under strong grazing light. A colour reference is useful, but describe whether a long LED line will run along the surface. It can reveal small waves that diffuse room light hides. Clarify who paints neighbouring areas: a local patch can remain visible against old paint. “Complete job” does not define joint coats, primer or the paint itself. List expected stages in the enquiry and record the exact level in the quotation. A contractor cannot price identical finish quality from a photograph of a completely different room.
10. Send one organised information pack
A practical message contains: city and task; sketch with measurements; room overviews; defects and service details; planned loads; required finish; access and timing restrictions. Short captions are more useful than dozens of unlabelled photographs. If you have a calculator draft, add the task list and indicate approximate quantities. Do not treat its range as a contractor's agreed price. Ask which items can be estimated remotely, which require measurements and what remains concealed. This gives the contractor a clear next step and reduces repeated questions. Keep the file names or photo numbers consistent with the sketch.
11. Know when a visit is necessary
A survey matters especially for damp, moving cracks, weak old substrates, crowded service ceilings, heavy loads and promised sound reduction. Photos show surfaces, not fixing capacity or the state of a closed cavity. Do not authorize drilling or opening merely to obtain an online number without a clear purpose and safety plan. After the survey, the contractor should clarify dimensions, assembly and responsibility. Structural, electrical or water issues need the appropriate specialist. Any difference between a preliminary range and a final quote should be tied to a discovered fact. That is more trustworthy than an implausibly precise price from one cropped photograph.
12. Compare the reply with your original brief
Check that area, number of openings, finish, room protection and neighbouring trades were understood. If a quote omits an access hatch despite a visible air-conditioning unit, ask before agreeing. For two options, request the same item structure. Keep the original message with every response to see why totals differ and update the facts after a visit. The value of a remote enquiry is not an instant fixed number. It is the contractor's ability to separate measured information from assumptions and propose a checkable next step. This package saves time for both the homeowner and the person preparing the job.
Questions
How many photographs should I send?
Two room overviews plus a few labelled detail views are a useful start.
Do I need a professional plan?
No, a simple measured sketch works; an old plan is only a reference.
How should I measure a partition?
Record length, height in several places, door location and future loads.
Should I double the wall area?
First check whether the finished-partition item includes both faces.
What if I see a damp stain?
Show it and resolve the water source before closing new boards.
Can photos establish a soundproofing price?
Only a broad guide until the sound source and routes are understood.
Should I expose wiring for a photo?
No. Photograph visible sockets and routes without opening electrical work.
Why mention furniture?
An occupied room changes protection, access and organisation.
Can I send a calculator result?
Yes, with dimensions, photographs and a note about approximate items.
When is a visit essential?
When concealed base conditions, moisture, services or loads determine the design.
Relevant services
Guides and practical notes
Message Nikolai on WhatsApp with photos and dimensions, or call him to discuss the next step and what is needed for an estimate.