
How to inspect and accept drywall work: before boarding and after paint
Stage-by-stage checks for partitions, ceilings and niches: fixings, backing, service access, joints, lighting, hatches, acoustics and a written defect list.
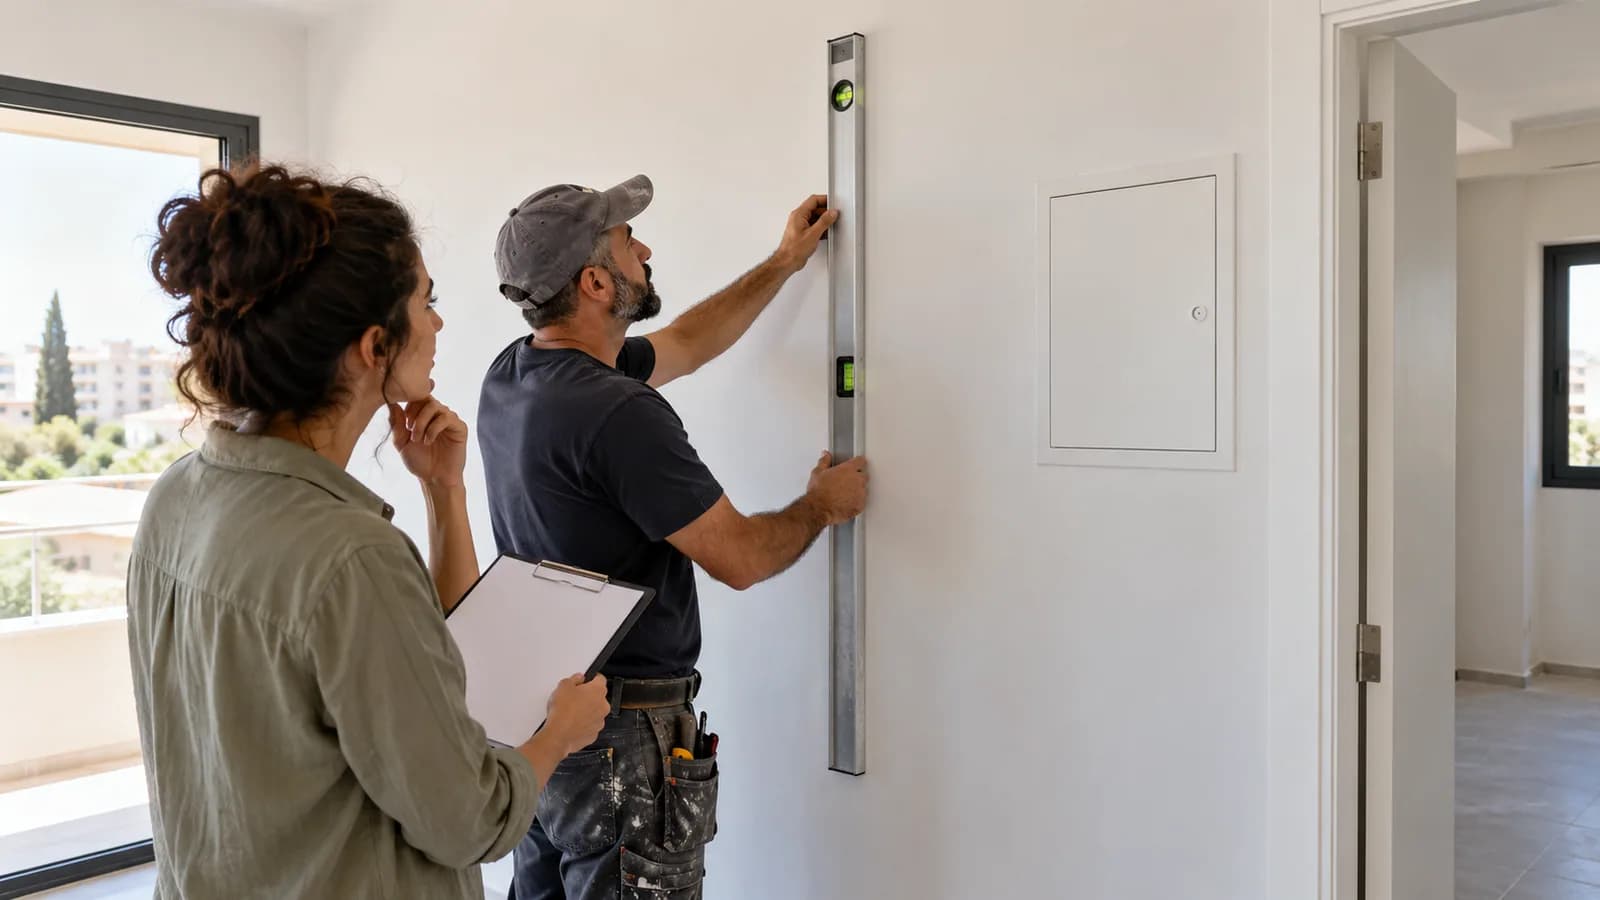
Drywall inspection does not begin with the final coat of paint. Once boards cover the frame, supports for shelves, cable routes and the fill of an acoustic partition are no longer visible. Set two principal checkpoints: before boarding and after finishing. A complicated ceiling may need a third before paint. This checklist helps homeowners in Israel ask specific questions without trying to replace the designer, electrician or specialist contractor. Compare work with the agreed drawings, quotation and normal use of the room. An absolutely flawless surface under any extreme grazing light or total silence cannot be inferred from the phrase “complete job”. The expected finish and acoustic limitations need to be described before installation.
1. Agree acceptance criteria at the outset
Keep the sketch, dimensions, assembly type, number of layers, required backing, door positions, hatches and lights. Define whether the finish is rough board, ready for paint or intended for demanding grazing light. For noise reduction, record the original problem and limits of the chosen system. Agree who photographs concealed work and when the owner can review it. If a standard is undefined, debate over a visible joint becomes subjective. The contractor selection guide helps put these questions into the proposal. A checklist is a shared target for everyone involved, not a trap set at the end.
2. Check the set-out in the real room
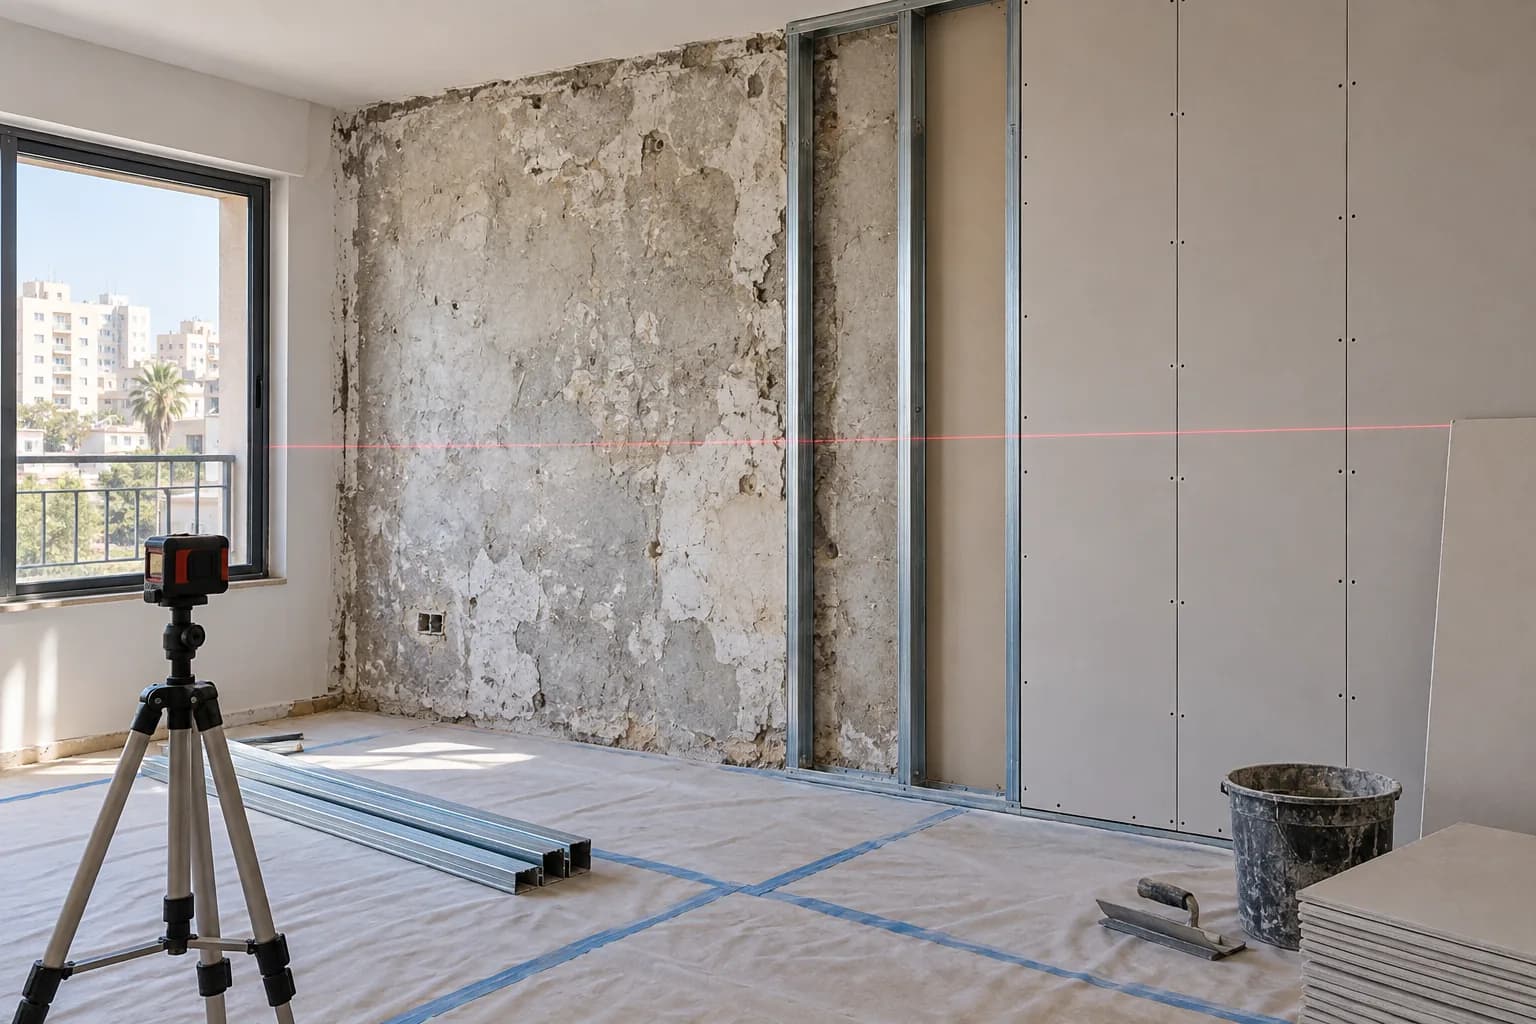
Before framing, walk the future space. Is the passage wide enough? Will the door swing freely? Will a desk and wardrobe fit? For ceilings, verify clear height near doors, AC and ventilation grilles. Put a tape measure at disputed points and photograph positions relative to existing walls. If the set-out differs from the drawing, resolve it before construction. A small shift can be easy at this stage and expensive after painting. Coordinate niches and long light lines with actual furniture rather than an outdated inspiration picture. Marking tape on the floor is often enough to reveal a space problem.
3. Inspect framing before boards hide it
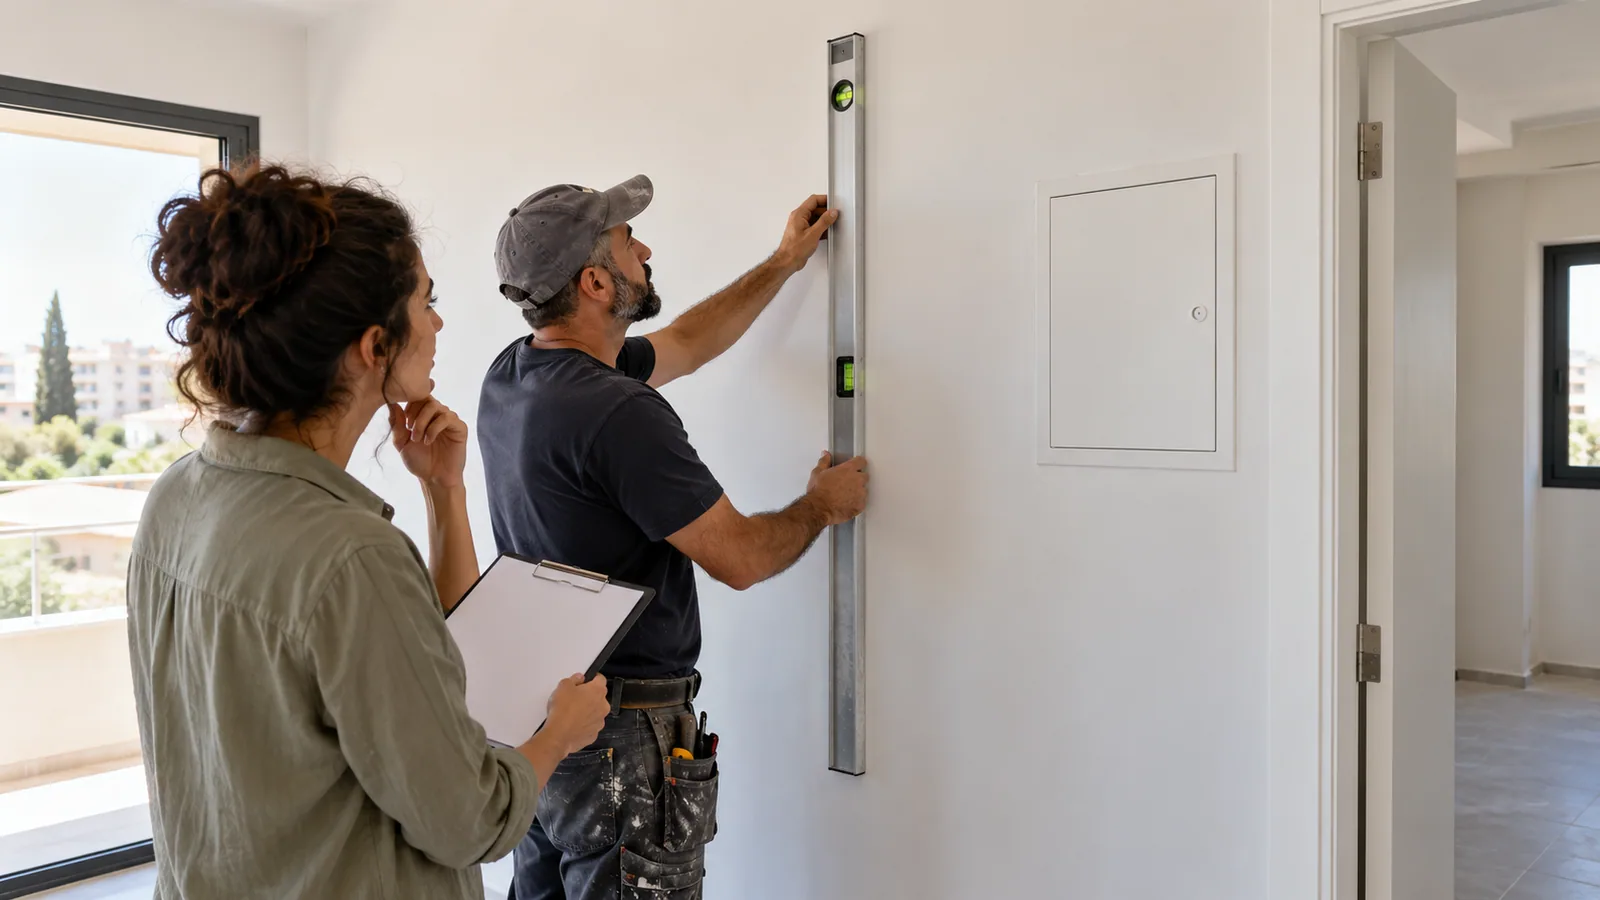
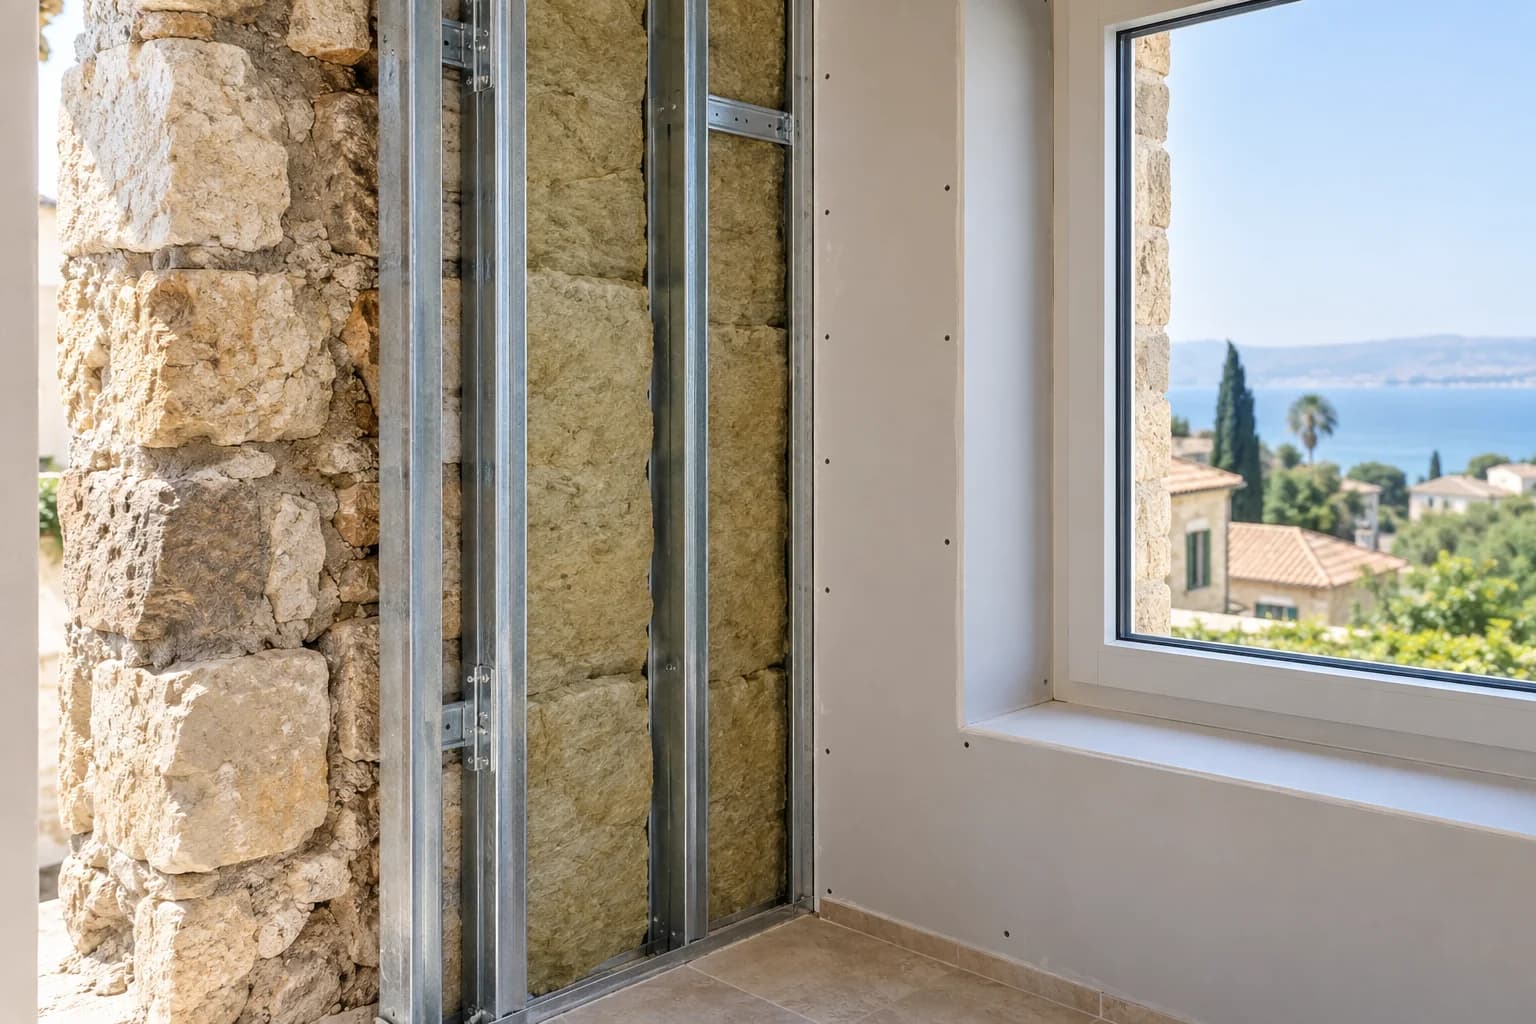
Ask to see fixings to the existing base, profile layout, reinforcement around doors and backing for future loads. Heavy furniture needs planned fixing points marked on a sketch; “we will find a stud later” is not a reliable plan. In a layered system, ask where the second layer and staggered joints will sit. A photograph alone cannot prove structural capacity; a questionable base or unusual load needs the appropriate specialist. Take wide and close photographs of major details with a scale. Once the boards are installed, demonstrating a missing backing piece may require opening the wall, which is why this inspection matters.
4. Check services and maintenance access
Before closure, the electrician should confirm routes, sockets and lights; the AC specialist should confirm access to filters, drains and service points. Locate the proposed ceiling hatch and imagine opening it after the room is furnished. An LED driver should be replaceable without destroying the niche. Photograph cable routes with distances from room corners and keep them with the sketch. Do not touch open electrical connections yourself. Have the suitable specialist verify pipes before hiding them. A hatch that technically exists but cannot reach the equipment is not useful access. Resolve this while positions can still move without demolition.
5. For acoustics, consider the whole sound path
For a partition, review the specified fill, layers, perimeter, outlets, door and space over any suspended ceiling. A photograph of one insulation batt does not show that the route around it has been closed. For a ceiling, ask about rigid connections and likely bypasses. Define the source: speech, footsteps and room echo need different approaches. Listening after installation is useful for experience, but it is not a laboratory decibel measurement. The noise diagnosis guide helps set a meaningful check. If a complex complaint remains, revisit the source and transmission path before adding another board layer.
6. Review boards before joint treatment
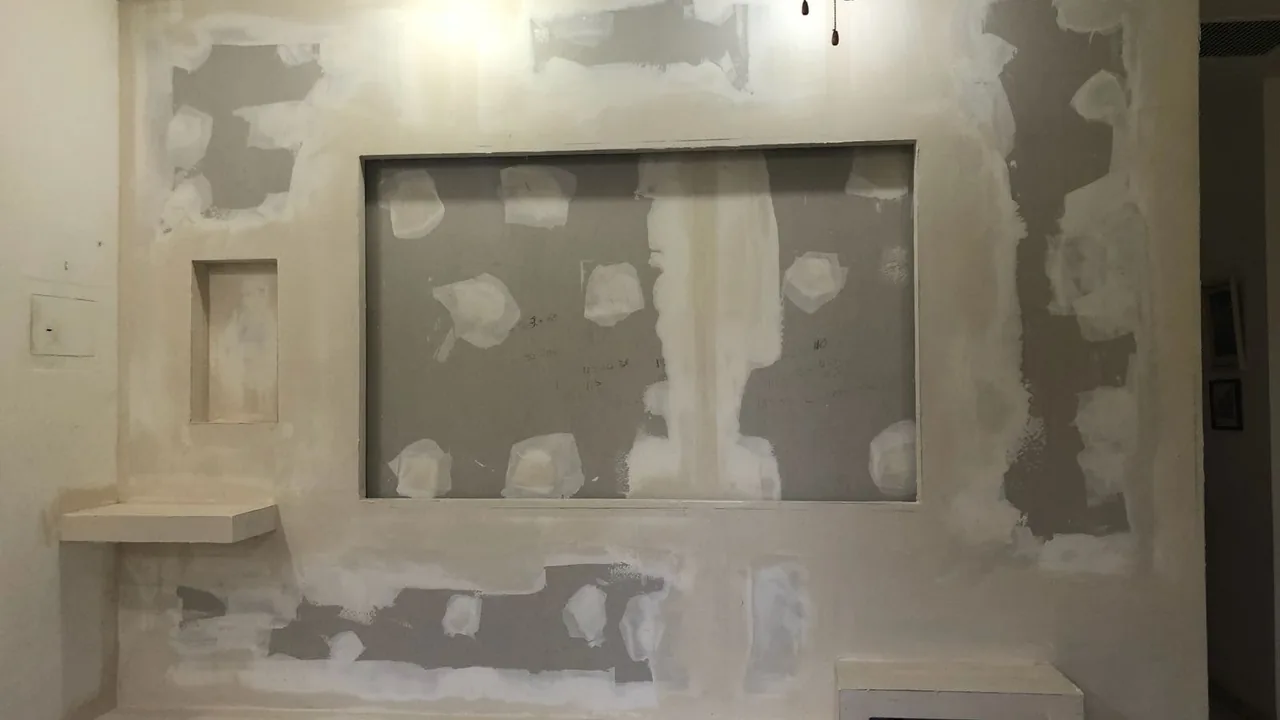
After boarding, check that the specified material suits the room, sheets are intact, openings match the drawing and fasteners have not torn through the paper face. Examine joints, corners, transitions and service access. In a wet space, do not accept the claim that moisture-resistant board alone has cured a leak or replaced the needed water protection. Resolve water at its source. Photograph corrections before finishing hides them. Replacing a damaged piece or correcting an opening is still easier now than after primer and paint. Describe a concern by location, visible condition and expected action rather than using an unhelpful phrase such as “fix everything”.
7. Inspect joints under agreed lighting
Before paint, examine tape, corners, screw heads, sheet transitions and primer after adequate drying. Side daylight or a long LED line can reveal waves more strongly than general room lighting; the inspection method should match the previously agreed finish. Do not judge every wall by holding a work light flush to it if that was never part of the brief, but do not ignore joints visible in ordinary use. The pre-paint guide explains why loose tape is not cured by another coat of paint. Ask for the cause of a defect to be repaired before the decorative layer conceals it temporarily.
8. Separate surface marks from underlying causes
A small paint scratch and a recurring crack along a joint require different responses. A scratch may need local finishing and a colour check. A widening crack, hollow joint, moving sheet or binding door needs an explanation of movement. Do not simply repaint a damp mark; find and solve the water source with the appropriate specialist. Photograph a defect both in context and close up with a date and ruler. Avoid applying more compound over an unstable base merely for quick handover. An effective correction should address the failed detail, not only conceal its visible trace until the next season.
9. Operate doors, hatches and fixings
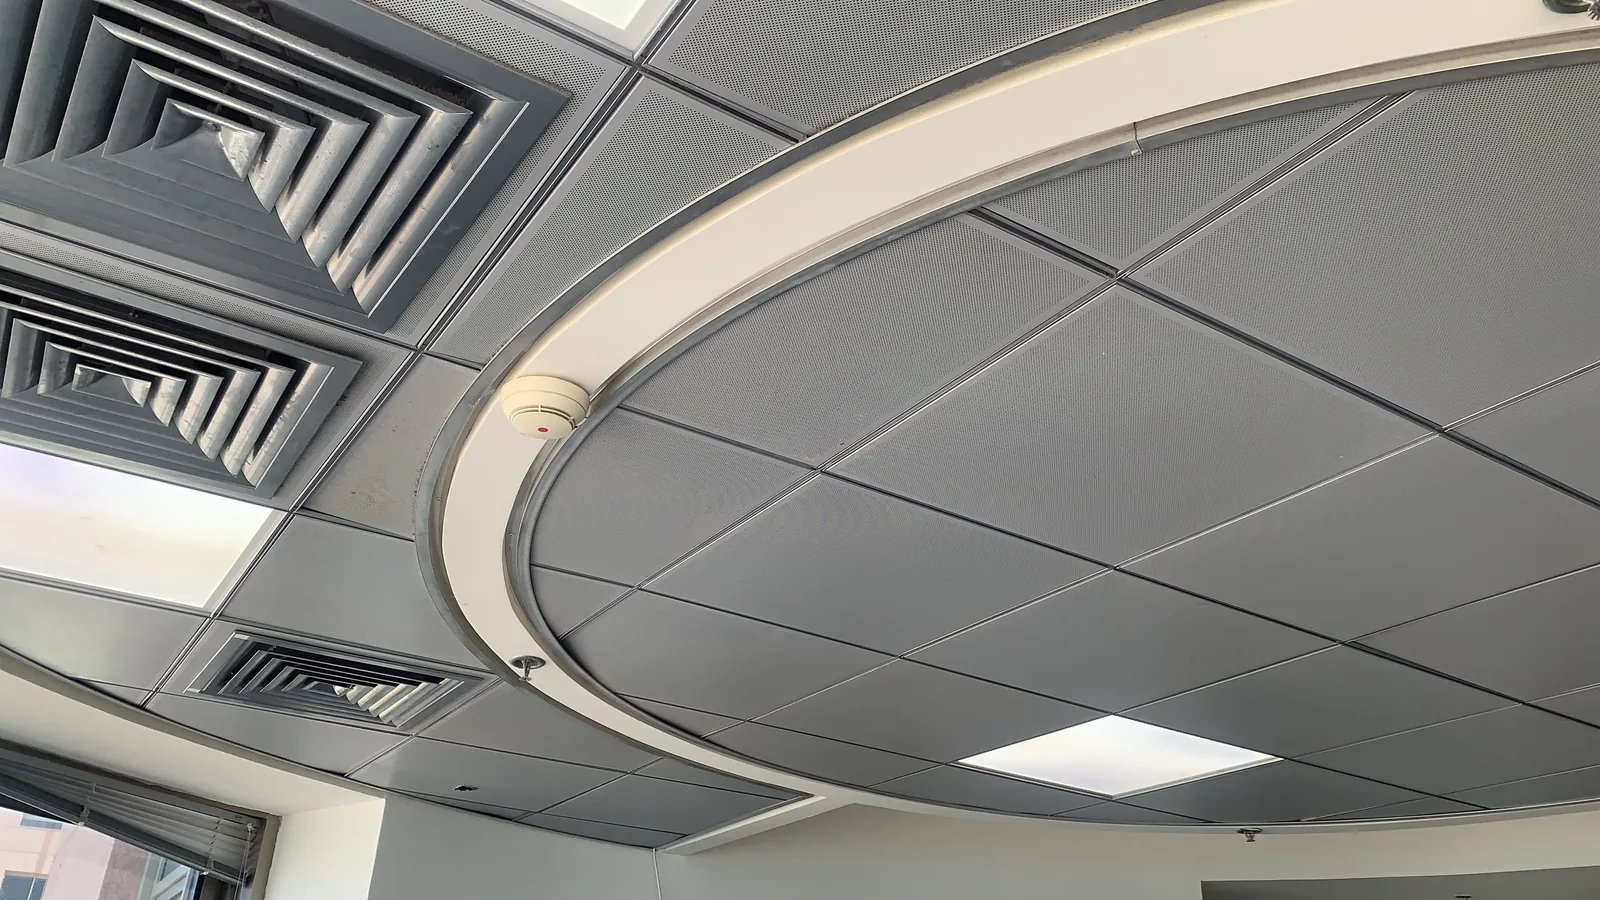
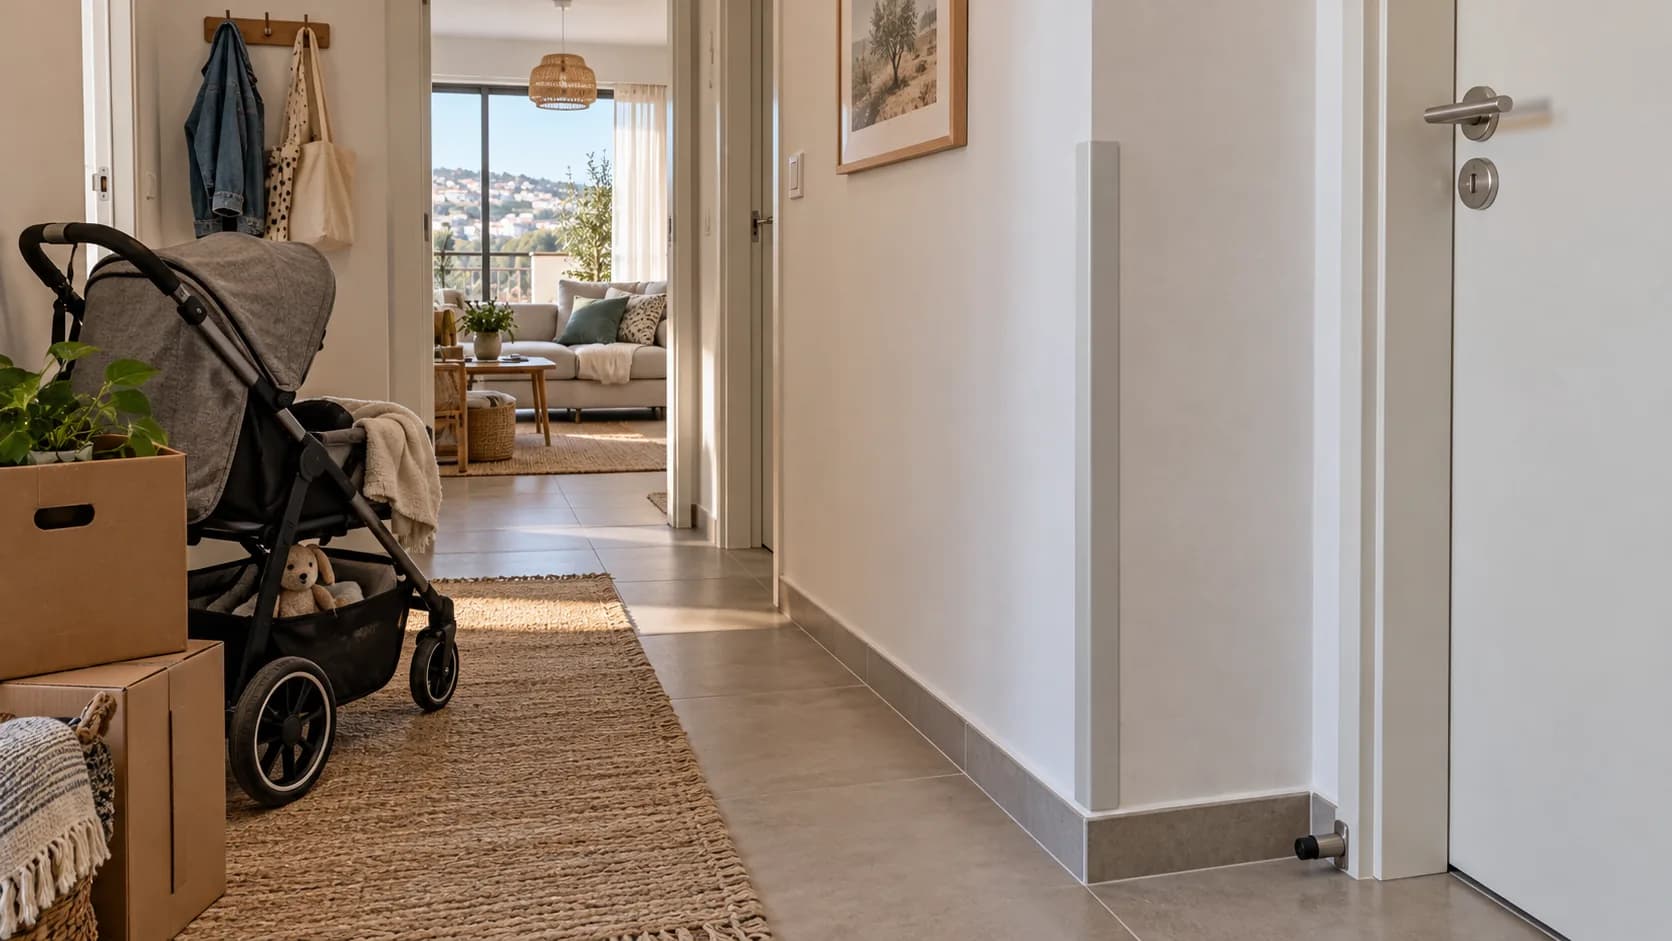
Open the door and access hatch several times. Check that they clear floors, lights and nearby furniture. Verify any required sealing around an acoustic door. Compare sockets, switches and lights with the agreed drawing. Do not hang a heavy television at a random point; locate the documented backing and use a suitable fixing. Switch on the lights and make sure serviceable equipment is still reachable. A perfectly painted access panel is little comfort if replacing a driver later requires sawing it open. This functional walk-through finds problems that a photograph of the completed room cannot reveal.
10. Write a specific defect list
Instead of saying “the room is crooked”, list the room, point on a photo, agreed result, observed difference and how the correction will be checked. Separate small finish marks from non-functioning hardware and serious concerns about hidden construction. Name a responsible person and a date for reinspection. Keep the original photographs so the correction can be compared. A new colour preference or a newly requested door position is a scope change, not automatically a defect. This approach keeps payment for completed stages tied to observable facts while making it easier for a good contractor to fix the right place.
11. Reconcile paperwork and payments
Before final settlement, compare the approved quote with completed dimensions, layers, access openings, finish, delivery, protection and cleanup. Confirm VAT and final payment terms in the actual document. For extra work, locate the record of what was discovered, how much it cost and when it was approved. Save frame photographs, product names and cable routes. They will help when a shelf is installed or a light is replaced later. The calculator remains a preliminary budget aid, not an acceptance certificate. Use the agreed scope and the installed construction for the final check.
12. Reinspect the corrected items
After repairs, revisit marked locations and key functions: door, hatch, light, equipment access and finish under normal agreed lighting. Photograph from the same angle as before. If the cause of a crack or noise lies outside the drywall system, record which specialist will deal with it. Do not expect a painter to guarantee against every future movement in a building, but do not treat a failed joint as unavoidable. Completed handover leaves the owner with a clear record of work, useful hidden-detail information and a room that can be used safely. It also gives the contractor a finite list that can actually be closed.
Questions
When does inspection start?
With agreed criteria before installation and a separate check before boarding.
What must be seen before boards?
Frame, anchors, backing, service routes, fill and access to equipment.
Can framing be checked after paint?
Only partly without opening; concealed-stage photographs are important.
What lighting should be used?
The lighting and finish standard agreed before the work.
Does moisture-resistant board prove a room is dry?
No, the water source and protective system need separate assessment.
Can complete silence be promised?
No; performance depends on source and flanking routes.
What if a crack returns?
Investigate movement or a weak joint before a cosmetic patch.
How should a defect be written?
Record room, photo point, agreed criterion and requested correction.
Why keep cable and backing photos?
They make future drilling and maintenance safer and more precise.
When is final payment due?
Follow the agreed terms after checking work and documented corrections.
Relevant services
Guides and practical notes
Message Nikolai on WhatsApp with photos and dimensions, or call him to discuss the next step and what is needed for an estimate.